Saltwater vs. Freshwater Damage: Why Saltwater Damage Restoration in Fort Lauderdale Is a Different Job Entirely
BY RESTORATION DOCTOR OF MIAMI · MIAMI-DADE, BROWARD & PALM BEACH
Saltwater damage restoration in Fort Lauderdale requires a rinse or flush step that a freshwater loss does not, because chloride left in porous materials is hygroscopic — it keeps pulling moisture back out of humid South Florida air, so a material that meters dry today can climb again days later. Saltwater intrusion is also treated as at minimum Category 2 and frequently Category 3 when it arrives off a street, canal, or storm system, and the chloride left behind drives long-term corrosion of fasteners, hurricane straps, window and door hardware, AC linesets and coils, electrical terminations, and reinforcing steel in slabs and seawalls. The correct sequence is safety, extraction, removal of contaminated porous materials, rinse and flush of salvageable assemblies, antimicrobial application, controlled drying with LGR dehumidification, moisture verification, then post-remediation checks and a corrosion inspection. Restoration Doctor works for the homeowner, not the carrier: you are our customer, and we hand you the IICRC-grade documentation, photo log, moisture readings, and line-item estimate you submit to your insurer for reimbursement. Call our 24/7 dispatch line to get a crew started.
Call (786) 213-9489Why is saltwater damage restoration in Fort Lauderdale different from a freshwater loss?
Saltwater damage restoration in Fort Lauderdale is a fundamentally different job than drying out a clean supply-line break, and the reason is simple: when freshwater leaves a building, it leaves nothing behind, and when saltwater leaves a building, it leaves salt behind. A burst angle stop under a bathroom sink puts potable water into a floor assembly. Pull the water out, push air across the materials, drop the humidity with dehumidification, and the assembly returns to its dry standard. Nothing has been added to the wood, the drywall, or the slab. The loss is over when the numbers say it is over.
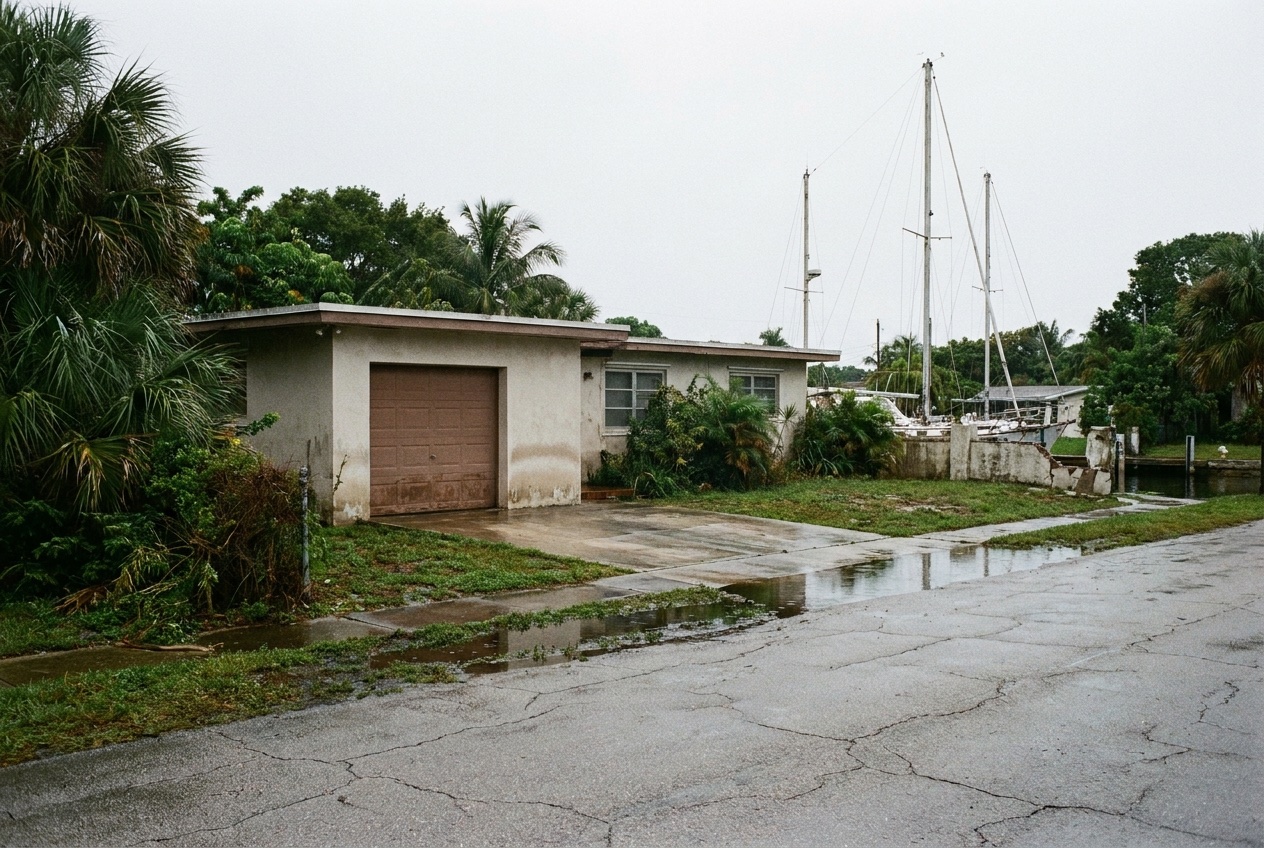
A canal overtop on a Rio Vista or Las Olas Isles street, a tidal push through a garage door, a seawall breach, or storm surge driven up a Tarpon River property does something categorically different. The water carries dissolved sodium chloride and a long list of other salts, and when the liquid evaporates the salt does not evaporate with it. It crystallizes inside the pore structure of concrete, mortar, stucco, gypsum, and wood. From that moment forward the material has a chemistry problem, not just a moisture problem, and no amount of air movement will fix a chemistry problem.
That distinction drives every decision that follows — how the loss is categorized, what has to come out, what can be washed and kept, how long drying takes, how you verify you are actually done, and what has to be re-inspected months later. Treating a saltwater loss with a freshwater playbook is the single most common and most expensive mistake we see in Broward County, and homeowners usually do not find out it was a mistake until the readings creep back up or the hardware starts bleeding rust.
What does it mean that salt is hygroscopic?
Hygroscopic means a substance actively attracts and holds water from the surrounding air. Salt is strongly hygroscopic. Once chloride is deposited inside the pores of a material, that material behaves like a sponge that never stops reaching for moisture. Below a certain relative humidity the salt sits inert; above it, the salt begins pulling water vapor out of the air and back into the material — a behavior called deliquescence. The critical threshold for common sea salts sits well within the range South Florida lives in almost every day of the year.
This is why saltwater losses in Fort Lauderdale behave so strangely on a moisture meter. A crew extracts, sets equipment, runs it for three or four days, and the readings come down beautifully. Equipment comes out. Then a week later the baseboard is damp again, the paint is blistering, and the wood is reading elevated with no new water source anywhere in the building. Nothing leaked. The salt simply went back to work as soon as the dehumidifiers stopped holding the ambient humidity artificially low. In a climate that routinely runs 70 to 90 percent outdoor relative humidity, a salt-loaded assembly has an effectively unlimited supply of moisture to draw on.
The practical consequence is blunt: drying alone can never finish a saltwater job. Drying removes the water that is present. It does nothing to the salt that is causing the material to keep re-acquiring water. Until the chloride is physically removed from the assembly or the assembly itself is removed from the building, you do not have a dry structure — you have a structure that is temporarily dry because a machine is running.
Why does a saltwater job require a rinse or flush step?
Because chloride is water-soluble, the only practical way to get it back out of a salvageable assembly is to dissolve it and carry it away — a controlled rinse or flush with clean water, followed immediately by aggressive extraction and drying. This step has no equivalent in a Category 1 freshwater job, and it is the step most often skipped by crews that do not work saltwater regularly.
The rinse is not a mopping. On concrete slabs, terrazzo, tile, block, and structural framing that is being kept, it means deliberately reintroducing clean water in a way that mobilizes the salt in the pore structure, then removing that now-saline water before it can re-deposit. Depending on the assembly that may be low-pressure flushing, repeated wet-and-extract cycles, poultice-style drawing on masonry, or targeted washing of framing bays after the wet drywall and insulation have been removed and the cavity is open. Each cycle removes a fraction of the remaining chloride, which is why one pass is rarely enough on a heavily loaded slab.
It feels counterintuitive to add water to a water loss, and homeowners often push back on it. But adding controlled clean water and pulling it straight back out is the difference between a floor that dries and stays dry and a floor that spends the next two years cycling with the weather, pushing efflorescence through the finish and lifting whatever goes down on top of it.
- Rinse only what is genuinely salvageable — flushing saturated drywall or particleboard is wasted effort, those materials come out.
- Every rinse cycle must be followed immediately by extraction; standing rinse water re-deposits salt as it evaporates.
- Open the assembly first. Rinsing a closed wall cavity traps saline water where it cannot be recovered.
- Expect multiple cycles on slabs and masonry that sat submerged, and document each one.
- Rinsing raises the moisture load deliberately, so dehumidification capacity has to be sized for it, not for the original wetting alone.
How does saltwater corrode a Fort Lauderdale home from the inside?
Chloride ions attack metal by breaking down the passive oxide layer that normally protects steel and other metals from oxidizing. Once that layer is compromised, corrosion becomes self-sustaining and localized — it eats pits rather than a uniform film, and pitting is what causes fasteners and connectors to fail well before they look badly rusted from the outside. In a coastal building this matters far past the visible damage on the floor.
The at-risk list in a typical Broward home is longer than most owners expect. Framing fasteners, joist hangers, and the hurricane straps and connectors that tie your roof structure to the walls are galvanized steel — protective, but not immune to a chloride bath. Window and door hardware, sliding-glass rollers and tracks, and the anchors in an impact-window installation are all vulnerable. Mechanical systems take a beating: AC linesets, evaporator and condenser coils, and the sheet-metal chassis of the air handler corrode quickly once salt is in the airstream or on the coil fins. Electrical is a safety issue, not just a cost issue — chloride at receptacle terminations, panel bus, breaker contacts, and device screws creates high-resistance connections that heat under load. Appliance chassis, water heater jackets, and pump housings all suffer the same way.
The slowest and most serious version is chloride-induced corrosion of reinforcing steel. When chloride penetrates concrete and reaches the rebar, the steel corrodes and the corrosion products occupy substantially more volume than the original steel. That expansion generates internal tensile pressure that cracks the concrete from the inside out, producing the spalling, rust staining, and delamination familiar to anyone who has watched a Fort Lauderdale seawall, a dock cap, or an older balcony edge fail. In a slab-on-grade home this is a long-horizon risk, not a next-week emergency, but it is the reason salt-loaded slabs deserve a rinse and a documented inspection rather than a shrug.
- Structural: framing fasteners, joist hangers, hurricane straps and roof-to-wall connectors.
- Openings: window and door hardware, sliding-door rollers and tracks, impact-window anchors.
- Mechanical: AC linesets, evaporator and condenser coils, air-handler chassis and drain pans.
- Electrical: receptacle and switch terminations, panel bus and breaker contacts, device screws, low-voltage terminations.
- Appliances: chassis, control boards, water-heater jackets, pump and motor housings.
- Concrete: reinforcing steel in slabs, seawalls, dock caps, and balcony edges — chloride-induced rebar corrosion and spalling.
What is efflorescence, and why does it keep coming back?
Efflorescence is the white, powdery or crystalline bloom that appears on concrete block, stucco, brick, mortar, and slab surfaces after a saltwater event. It is exactly what it looks like: salt that migrated to the surface dissolved in moisture, then stayed behind as a crystal when the moisture evaporated. On a stucco wall it can read as a chalky haze; on a slab it shows as a gritty crust under flooring or a white ring at the base of a wall.
Homeowners scrub it off and it returns, which is the diagnostic. Recurring efflorescence means salt is still resident inside the assembly and moisture is still cycling through it — you are wiping away the symptom while the reservoir stays put. Worse, when crystals form just below the surface rather than on it, the crystallization pressure can spall the face of stucco, pop paint, and push tile and coatings loose from below. That is why any coating, sealer, paint, or flooring installed over a salt-loaded substrate tends to fail: you have bonded a new finish to a surface that is still growing crystals underneath it.
The fix is to reduce the salt load before anything goes back on, then verify. Rinse and extract, let the assembly stabilize under controlled conditions, and confirm the bloom does not return over a monitoring period rather than assuming one cleaning solved it.
Is saltwater intrusion Category 2 or Category 3?
Under the IICRC S500 framework, water losses are classified by contamination category — Category 1 is clean water from a sanitary source, Category 2 carries significant contamination and can cause illness, and Category 3 is grossly contaminated. Saltwater intrusion is never Category 1. Sea and canal water is not a sanitary source, it carries organic material and marine microbiology, and it deposits a residue that changes how the material behaves afterward. At minimum, treat it as Category 2.
In practice, most of what we respond to in Fort Lauderdale is Category 3. Water that reaches a home has almost always crossed a street or a yard first, and by the time it comes through the door it is carrying whatever the storm system, the swale, and the roadway had in them — fuel and oil residue, lawn chemicals, animal waste, decaying organic debris, and frequently sanitary sewage from an overwhelmed collection system. Broward's stormwater and sanitary infrastructure is under real pressure during a heavy tidal or rain event, and cross-contamination is common enough that assuming otherwise is not defensible. If the water came off a street, a canal, or a storm structure, scope it as Category 3 until something proves otherwise.
The category determines the scope, so this is not an academic label. Category 3 means porous materials that absorbed the water are removed rather than dried in place, means containment and PPE, means antimicrobial application after the contaminated materials are gone, and means the job ends with verification rather than a handshake. It also means the documentation has to be tight, because a scope that removes materials needs a written basis for why.
What gets removed and what can be saved after saltwater intrusion?
The dividing line is porosity plus contamination. Materials that absorbed contaminated saltwater into their structure, and that cannot be practically rinsed and verified, come out. Materials that are non-porous or dense enough to be cleaned, rinsed, and confirmed can generally stay. This is a longer removal list than a Category 1 job, and it is worth understanding before the crew arrives so the scope does not feel arbitrary.
Carpet and pad that took saltwater are a loss — the pad is a sponge and the carpet backing holds both salt and contamination. Fiberglass and mineral-wool insulation in wet cavities comes out; it loses R-value, holds salt, and cannot be rinsed in place. Particleboard and MDF cabinet boxes, vanity bases, and toe kicks swell and delaminate and will not survive a rinse, which is why base cabinets frequently go even when the doors and drawer fronts look fine. Lower drywall is cut above the wet line — the standard flood cut, taken high enough to get above wicking and give access to the cavity for rinsing and drying.
The save list is more encouraging than owners expect. Tile and terrazzo over slab usually survive; the question is what happened underneath. Dimensional lumber framing, solid wood, and engineered structural members can typically be rinsed, dried, and kept if they were not submerged for an extended period. Non-porous surfaces — metal (after corrosion treatment), glass, sealed stone, solid-surface counters, plumbing fixtures — clean up. Solid wood furniture and hard-surface contents are often salvageable through a proper contents process even when the room around them is not.
- Typically removed: carpet and pad, saturated fiberglass and mineral-wool insulation, particleboard and MDF cabinetry and vanity bases, lower drywall, wet paper-faced materials, saturated laminate and most engineered flooring.
- Typically saved: tile and terrazzo, dimensional lumber and solid framing, solid wood, concrete and masonry (after rinse), metal after corrosion treatment, glass, sealed stone, plumbing fixtures.
- Case by case: solid hardwood flooring depending on submersion time, plywood subfloor and sheathing, hard-surface contents through a contents-restoration process.
What is the correct sequence for a saltwater loss?
Order matters more on a saltwater job than on any other kind of water loss, because several steps actively undo each other if run out of sequence. Drying before removal traps salt in place. Antimicrobial before the contaminated material is out is wasted product on a surface that is leaving anyway. Rinsing a closed cavity puts saline water somewhere you cannot recover it.
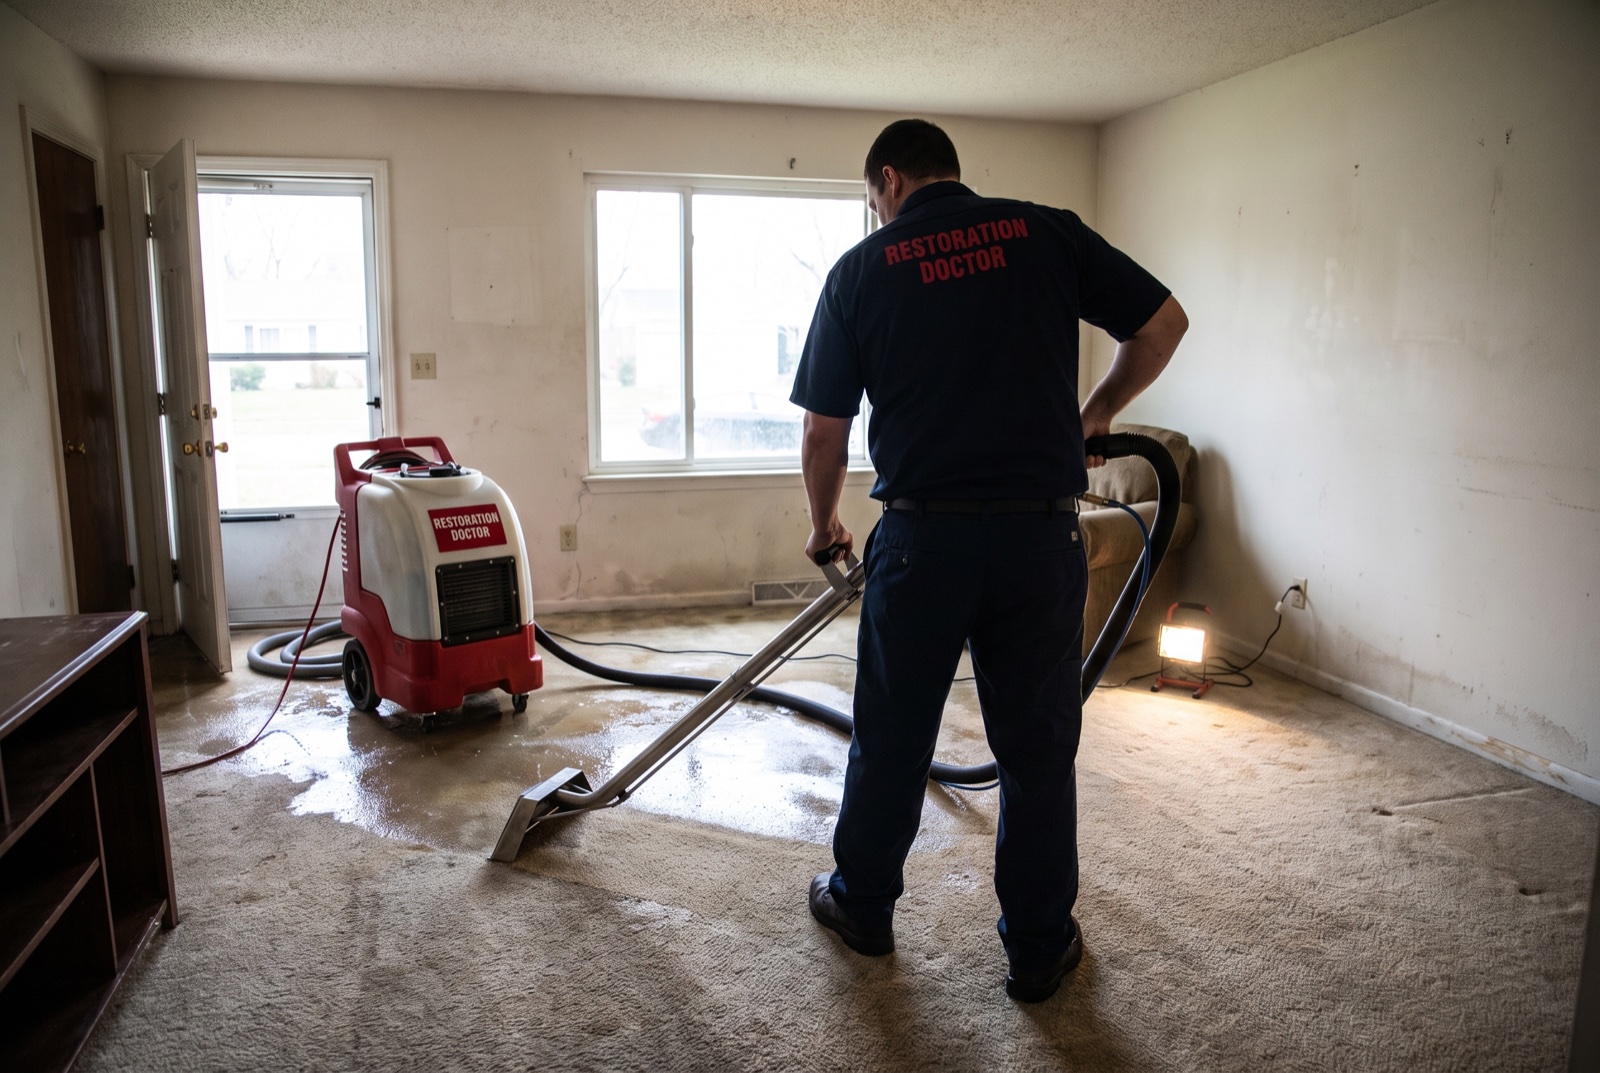
The sequence we follow starts with safety — electrical hazards first, then structural and biological. Power to affected circuits gets addressed before anyone works in standing water, and if a storm event is involved, the building gets assessed before it gets entered. From there: bulk extraction to get the free water out fast, since every hour of contact drives more chloride deeper into porous materials. Then removal of contaminated porous materials and controlled demolition, which also opens the assemblies for the next step. Then rinse and flush of everything that is being kept, with immediate extraction on each cycle. Then cleaning and antimicrobial application to the now-open, now-rinsed structure. Then controlled drying with LGR dehumidification and appropriate air movement, monitored daily against documented targets rather than run for a fixed number of days. Then moisture verification against a dry standard taken from unaffected material in the same building. Then post-remediation checks and a corrosion inspection of the metal systems the water touched.
That last item is the one nobody thinks about and the one that pays for itself. A dry-out that ends at the moisture reading leaves the electrical terminations, the AC coil and lineset, the hurricane connectors, and the door and window hardware unexamined, and those are the components that fail later, quietly, and expensively.
- 1. Safety assessment — electrical, structural, biological hazards addressed first.
- 2. Bulk extraction — remove free water immediately; contact time drives chloride penetration.
- 3. Contaminated-material removal — controlled demolition of porous materials that cannot be verified clean.
- 4. Rinse and flush — mobilize and extract chloride from every salvageable assembly, in cycles.
- 5. Cleaning and antimicrobial — applied to open, rinsed structure, not over contamination.
- 6. Controlled drying — LGR dehumidification with air movement, monitored daily against targets.
- 7. Moisture verification — compare to a dry standard from unaffected material in the same building.
- 8. Post-remediation checks and corrosion inspection — electrical, mechanical, hardware, and structural connectors.
Saltwater vs. freshwater: how the two losses actually compare
On cost, we quote ranges and only ranges, because a saltwater loss can be a single-room extraction and rinse or a whole-floor removal with cabinetry, mechanical, and electrical involvement, and those are not the same number. What is consistent is direction: a saltwater job costs meaningfully more than a comparable freshwater job of the same square footage, because it adds removal that a freshwater job would not require, adds rinse cycles, adds drying time, and adds verification. Anyone quoting a saltwater loss at freshwater pricing is either not doing the rinse or not doing the removal.
| Factor | Saltwater intrusion | Clean freshwater break |
|---|---|---|
| IICRC category | Category 2 at minimum; usually Category 3 from street, canal, or storm water | Category 1 if addressed promptly from a sanitary source |
| What the water leaves behind | Chloride and other salts crystallized inside the pore structure | Nothing — water evaporates and the material returns to normal |
| Does drying alone finish it? | No — a rinse or flush step is mandatory on salvageable assemblies | Usually yes, with adequate extraction and dehumidification |
| Moisture behavior after drying | Readings can climb back as hygroscopic salt pulls humidity from the air | Readings stay down once the dry standard is met |
| In-place drying of carpet and pad | Not appropriate — contaminated and salt-loaded, both are removed | Often viable when caught early and the source was clean |
| Drywall | Flood cut above the wet line; lower drywall removed | Frequently dried in place if the cavity can be accessed and verified |
| Long-term corrosion risk | Significant — fasteners, straps, hardware, AC, electrical, rebar | Minimal beyond normal moisture exposure |
| Efflorescence on masonry and stucco | Common, and recurring until the salt load is reduced | Not a factor |
| Typical project duration | Longer — removal, rinse cycles, and re-verification add days | Shorter — often a straightforward monitored dry-out |
| Post-job follow-up | Corrosion inspection and re-check for returning readings and bloom | Standard completion verification |
| Cost range | Higher, varying widely with area affected, depth, and materials involved | Lower, varying with area and materials |
Why is running the AC to dry it out the wrong move?
It is the first thing almost everyone does, and it makes the job worse in three separate ways. First, a residential air conditioner is a comfort appliance, not a drying machine. It removes moisture only as a side effect of cooling, and it stops removing moisture as soon as the thermostat is satisfied. It has nowhere near the grain-depression capability of an LGR dehumidifier and cannot pull a structure to a dry standard. Cooling the space also lowers the material temperature, which slows evaporation from wet materials — you feel more comfortable while the structure dries more slowly.
Second, on a saltwater loss the return air is now carrying salt aerosol and contamination from the affected area, and the system distributes both. Salt lands on the evaporator coil, in the drain pan, in the blower housing, and inside the duct runs, where it starts corroding the coil and the sheet metal and where it will keep re-humidifying and off-gassing long after the visible water is gone. On a Category 3 loss you are also actively spreading contamination into rooms the water never reached.
Third, if the air handler, ductwork, or condensing unit was itself in the water, energizing it is a safety and equipment risk before it has been inspected. The correct move is to shut down the HVAC system serving the affected area, isolate and contain that area, and let purpose-built LGR dehumidification and air movement do the drying under controlled conditions — then have the mechanical system inspected and cleaned before it goes back into service.
What documentation supports a saltwater scope?
Because a saltwater scope removes more material and runs longer than a freshwater scope, it has to be defensible on paper. That starts with the source and entry path — photographs and notes establishing that the water came from a canal, a street, a seawall, or a storm structure rather than a clean interior line, since that single fact drives the category and therefore the removal decisions.
From there the file is built on measurements taken over time rather than conclusions asserted once. Daily moisture readings from affected materials with a documented dry standard from unaffected material in the same building. Psychrometric logs — temperature, relative humidity, and grains per pound at the affected area, the dehumidifier outlet, and outside — showing the drying system was actually working. Photographs at each stage: pre-mitigation condition, water lines, materials as found, demolition, the open assembly, rinse cycles, and final condition. Equipment placement and run times. Thermal imaging where it identifies moisture migration behind finishes.
For a saltwater loss specifically, salinity and conductivity observations carry real weight. Conductivity of extracted water, of rinse water on each cycle, and of surface samples from slab and masonry gives an objective picture of the chloride load and — read across successive rinse cycles — shows that the load is actually coming down rather than being declared down. A falling conductivity trend across rinses is the clearest available evidence that the rinse step did what it was supposed to do, and it is exactly the kind of measured, repeatable observation that supports a scope line item that a freshwater job would not have.
One thing to be clear about: we do not bill your insurance company. You are our customer, you are responsible for payment, and what we produce for you is a complete IICRC-grade documentation package — photo log, daily moisture and psychrometric readings, equipment records, salinity observations, and a line-item estimate — that you submit to your carrier for reimbursement. That arrangement keeps us working for the property and the record rather than negotiating a scope down to somebody else's number, which on a saltwater loss is precisely where the corners get cut.
- Source and entry-path documentation establishing category.
- Daily moisture readings with a documented dry standard from unaffected material.
- Psychrometric logs — temperature, RH, and grains per pound at affected area, dehu outlet, and exterior.
- Stage-by-stage photographs: as-found, water lines, demolition, open assembly, rinse cycles, completion.
- Salinity and conductivity observations on extracted water, rinse cycles, and slab or masonry surfaces.
- Equipment inventory, placement diagram, and run times.
- A line-item estimate the homeowner submits to their carrier for reimbursement.
What should a Fort Lauderdale homeowner do in the first hours?
Contact time is the variable you control. Every hour saltwater sits against porous material drives chloride further into the pore structure and makes the rinse step longer and less complete. The single most valuable thing you can do is get the free water out and a qualified crew on site fast — a saltwater loss addressed in hours is a meaningfully smaller project than the same loss addressed in two days.
Before that: make it safe. Do not walk into standing water in a room with energized circuits or submerged appliances. If the water reached receptacles, the panel, or mechanical equipment, kill power to those circuits from a safe location or have it done. Assume any water that came off a street or canal is contaminated — boots, gloves, and no bare-skin contact, and keep children and pets out of the affected area entirely. Then shut off the HVAC serving the space rather than running it.
Document before you clean, because the water line, the debris line, and the as-found condition disappear the moment cleanup starts, and those images are what establish where the water came from and how high it got. Photograph and video widely — every affected room, the entry path, the exterior, the water lines on walls and cabinetry — and keep it. Then call our 24/7 dispatch line and let the crew handle extraction and the scope. Rinsing, cutting, and drying decisions on a salt loss are not DIY territory; the failure mode is invisible until it is expensive.