24 / 7 Emergency Response Active
FILE / PORTFOLIO

Documented restoration projects

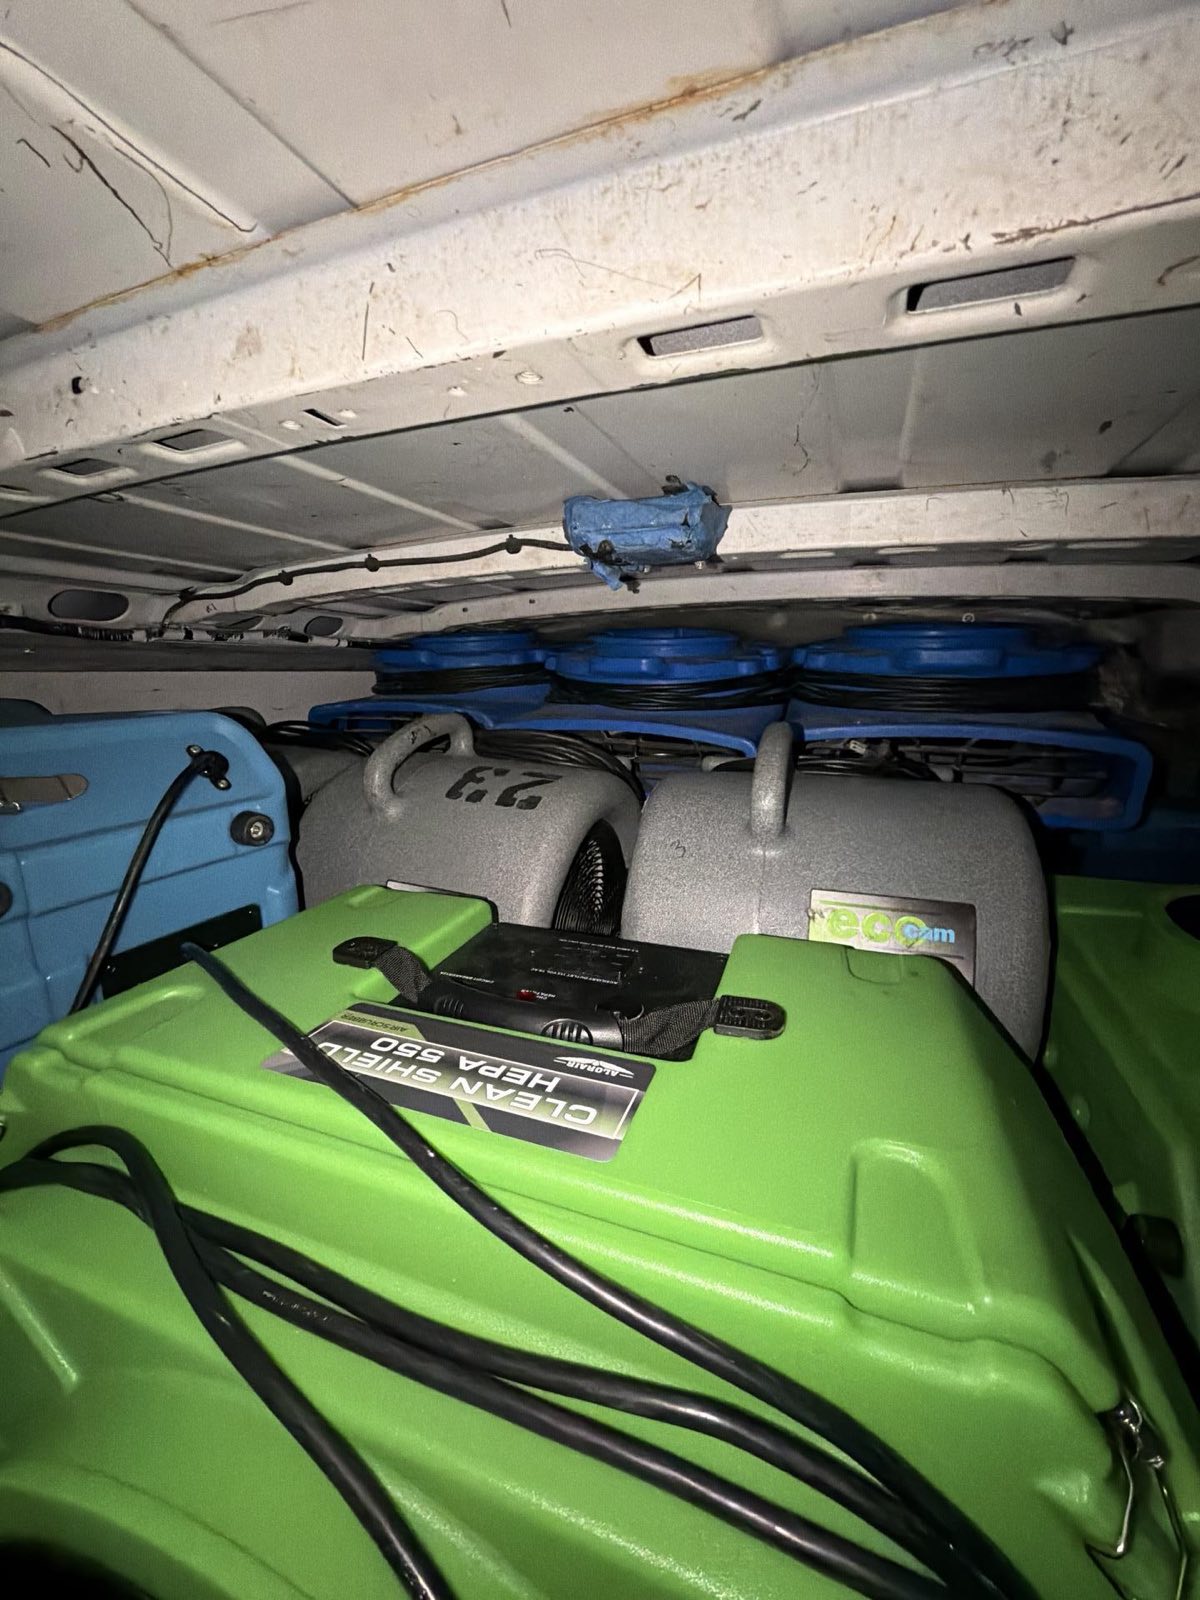
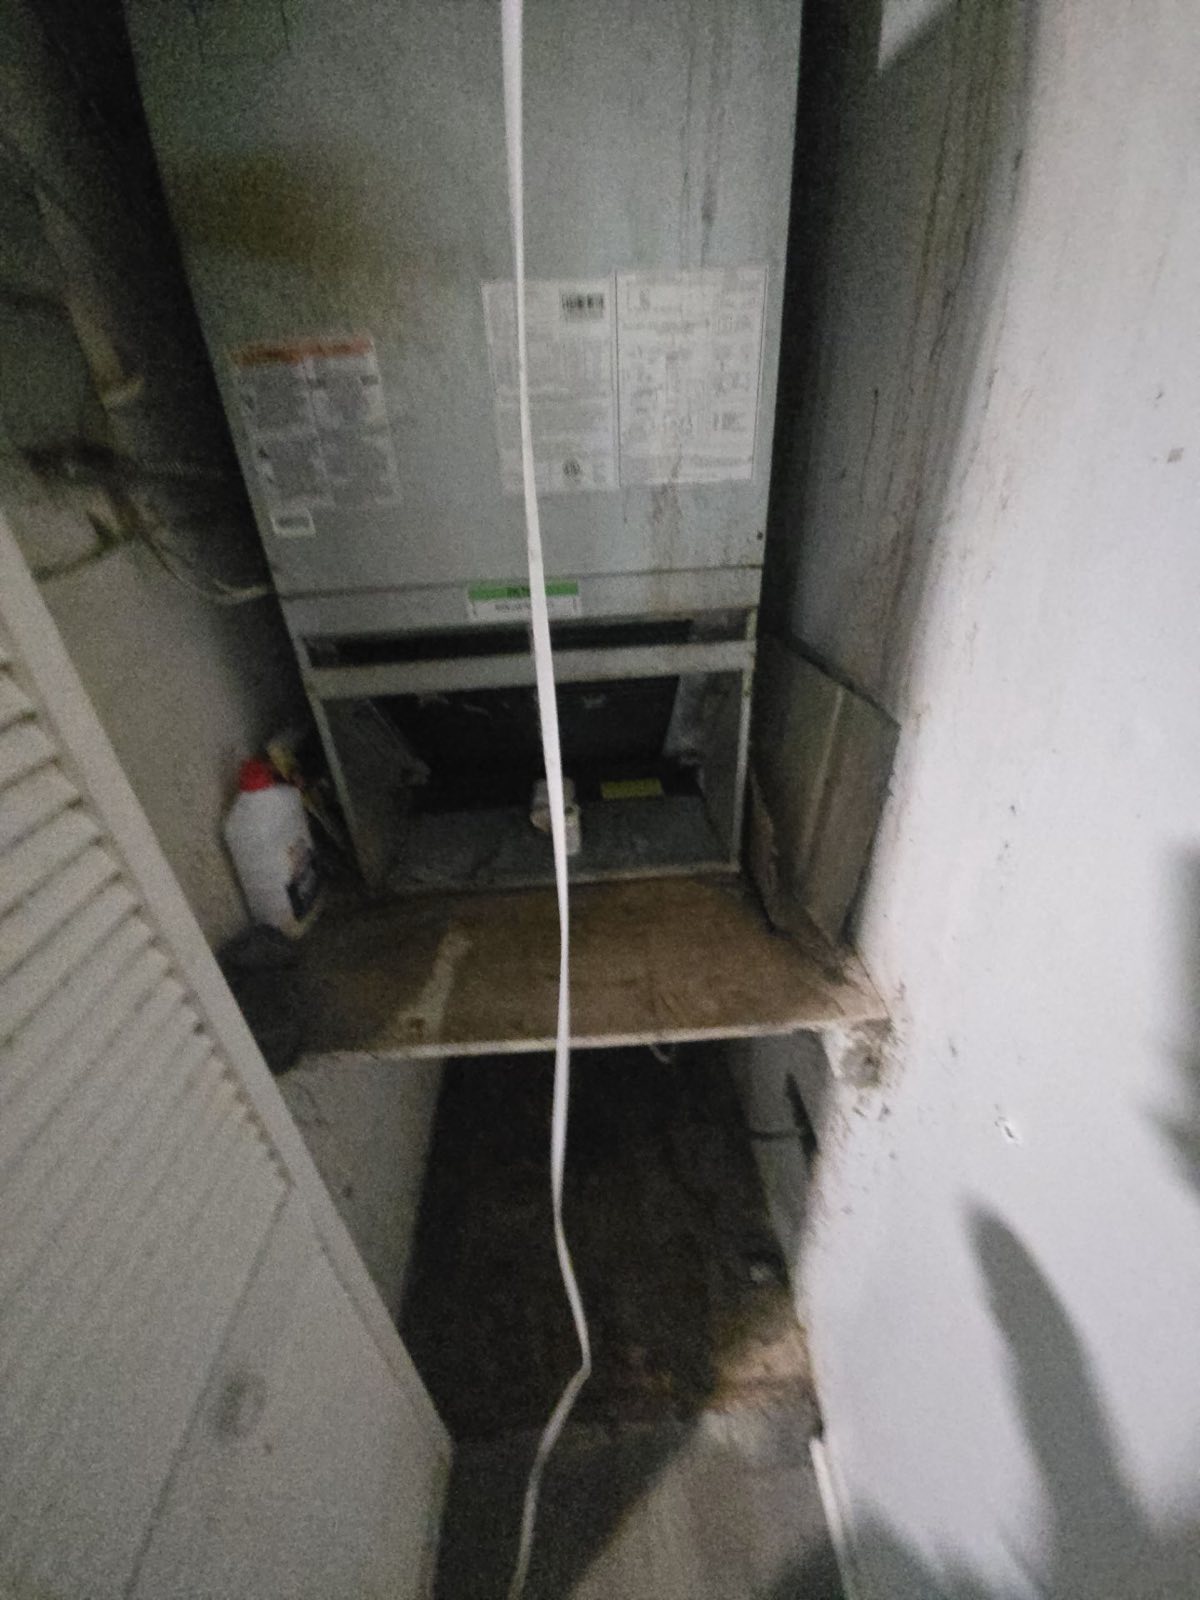
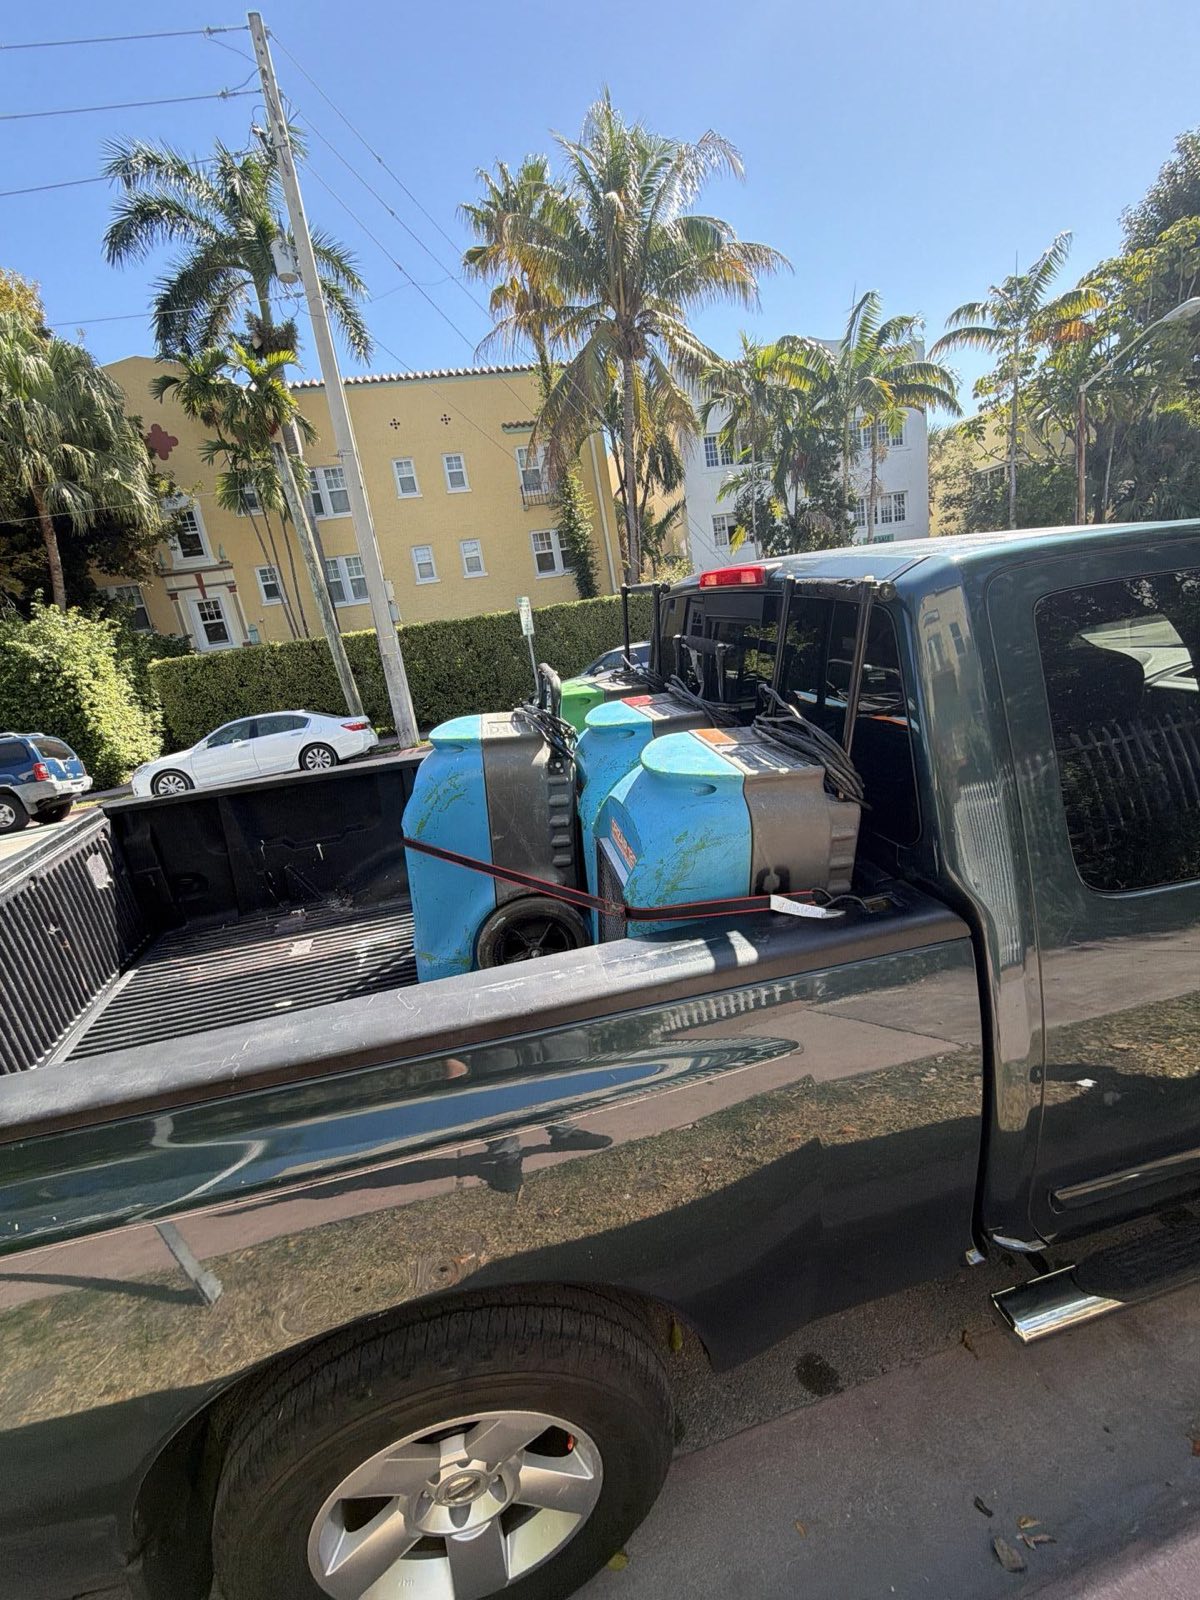
A selection of real restoration files from the Restoration Doctor portfolio — every project photographed in CompanyCam with date and time stamps, from arrival conditions through verified drying. It's the same standard our Fort Lauderdale crews document to on every loss.

Featured projects
12
Photos logged
8.0k+
Portfolio
Company-wide
Documentation
CompanyCam

These are highlights from the Restoration Doctor portfolio. Our full documented-project archive — thousands of projects with before-and-after photo sets — lives on our reviews hub.

See full documentation on our reviews site
Before photo: water damage restoration project in Miami, FL — documented initial conditions by Restoration Doctor
● BEFORE
After photo: completed water damage restoration in Miami, FL — Restoration Doctor project documentation
● AFTER
Water Damage Miami, FL

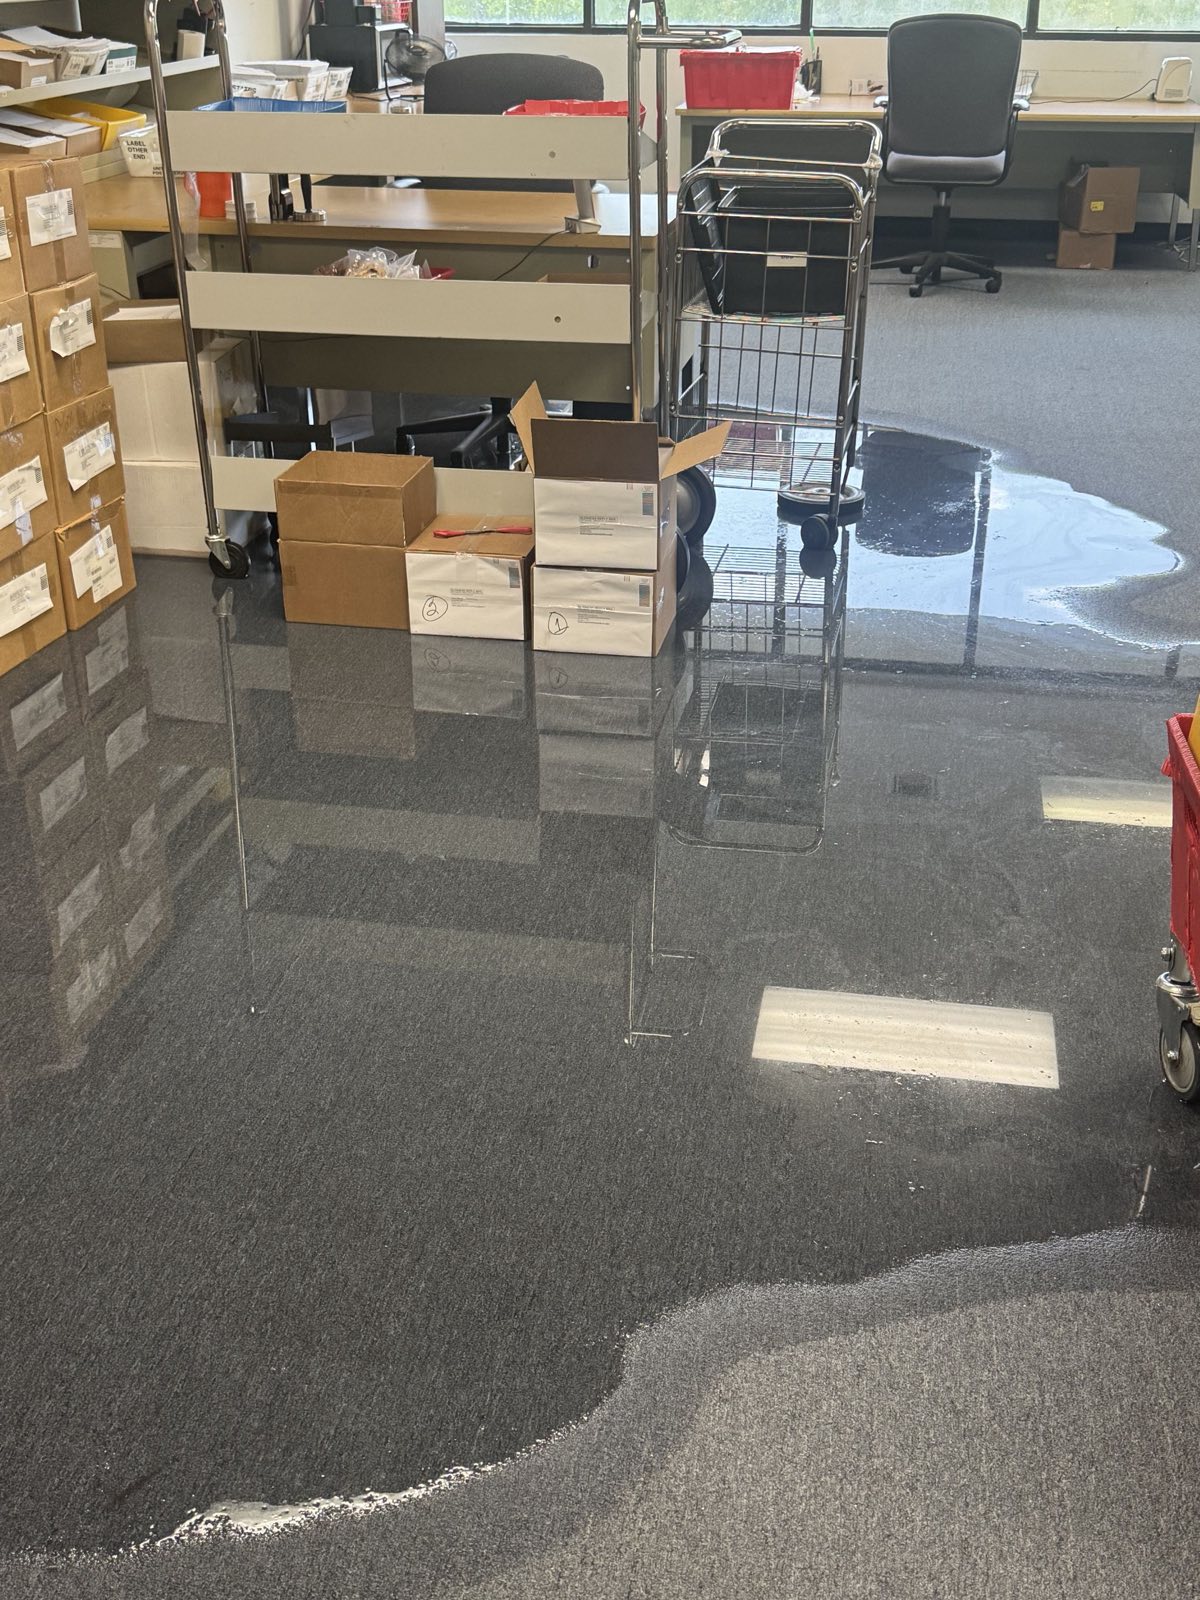
Miami Commercial Office Flood Extraction

Standing water across an occupied Miami office floor was pulled with truck-mounted extraction before it could reach the wall bases, then dried under a staged air-mover and dehumidification plan so the tenant kept working through the mitigation. The largest documented file in our South Florida portfolio.

Miami, FL · Mar 20261,164 PHOTOS
Before photo: water damage restoration project in Miami Beach, FL — documented initial conditions by Restoration Doctor
● BEFORE
After photo: completed water damage restoration in Miami Beach, FL — Restoration Doctor project documentation
● AFTER
Water Damage Miami Beach, FL

Miami Beach Moisture Mapping & Structural Drying

A coastal Miami Beach property was mapped room by room with pinless meters and thermal imaging before a single air mover was set, so equipment went where the moisture actually was. Daily psychrometric readings were logged until every monitored point hit its documented dry standard.

Miami Beach, FL · Feb 20261,084 PHOTOS
Before photo: water damage restoration project in Miami, FL — documented initial conditions by Restoration Doctor
● BEFORE
After photo: completed water damage restoration in Miami, FL — Restoration Doctor project documentation
● AFTER
Water Damage Miami, FL

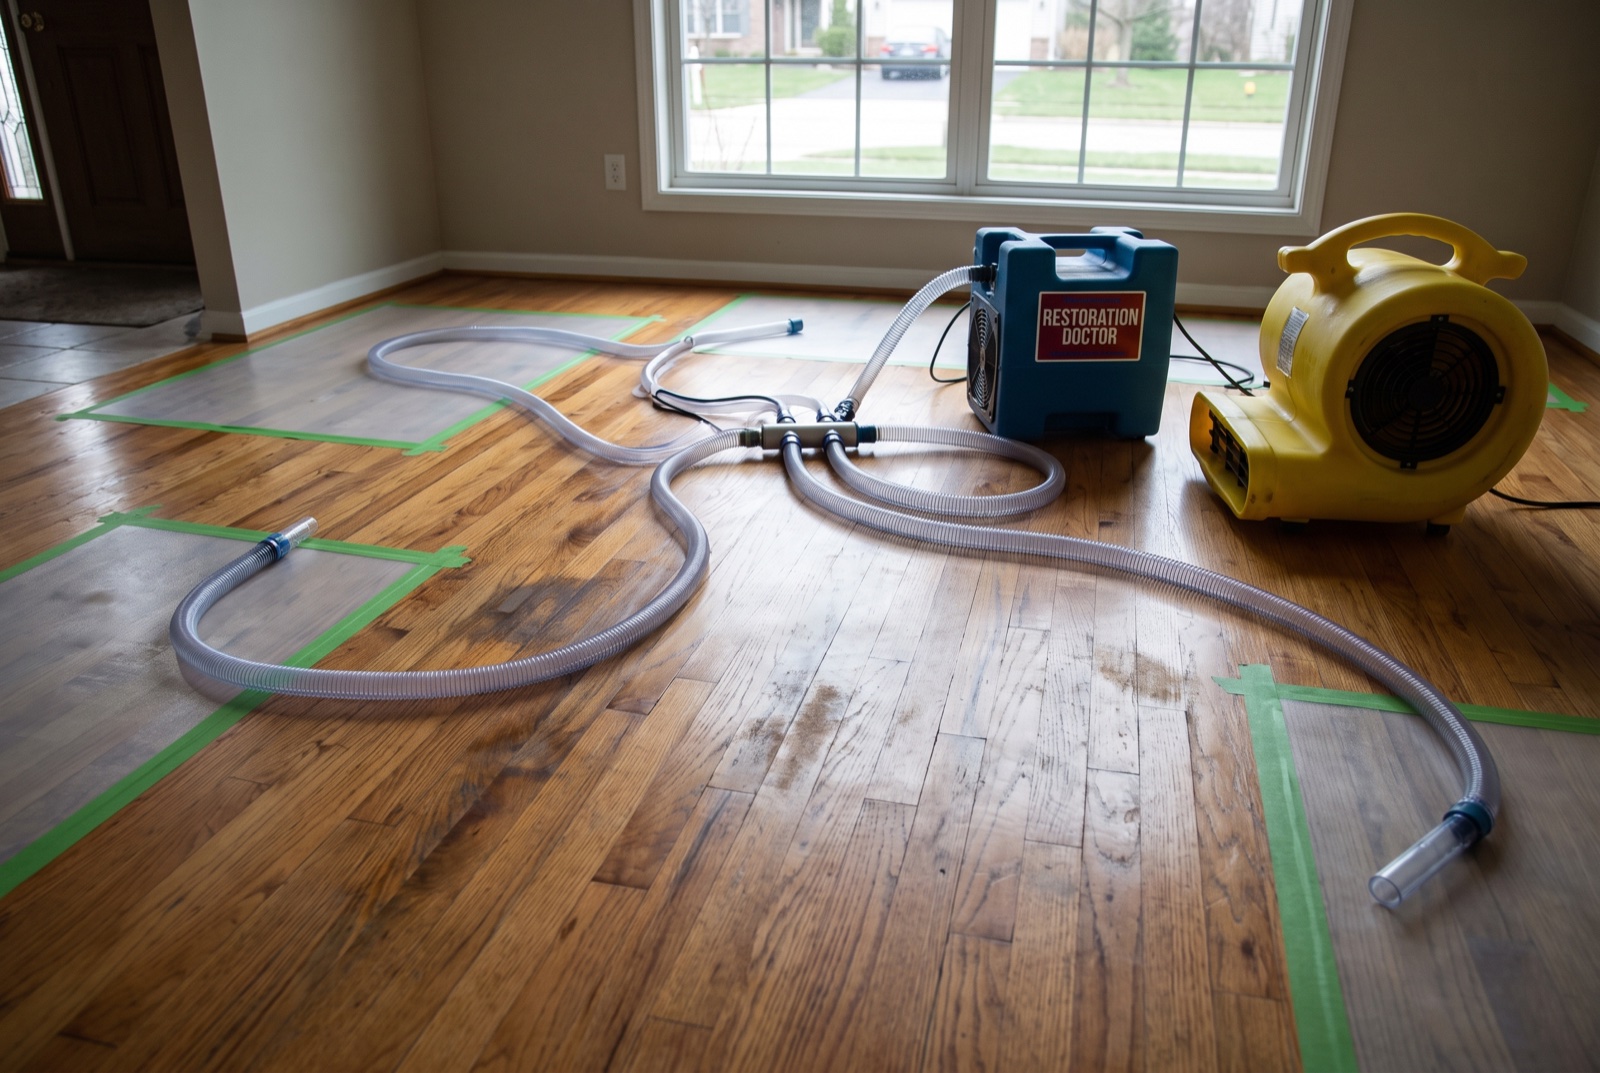
Miami Hardwood Floor In-Place Drying

Rather than tear out wet hardwood, crews used specialty floor-drying mats and injection drying to pull moisture out of the boards and the assembly beneath them — the approach that saves the original flooring when it is caught early enough.

Miami, FL · Feb 2026907 PHOTOS
Before photo: water damage restoration project in Miami, FL — documented initial conditions by Restoration Doctor
● BEFORE
After photo: completed water damage restoration in Miami, FL — Restoration Doctor project documentation
● AFTER
Water Damage Miami, FL

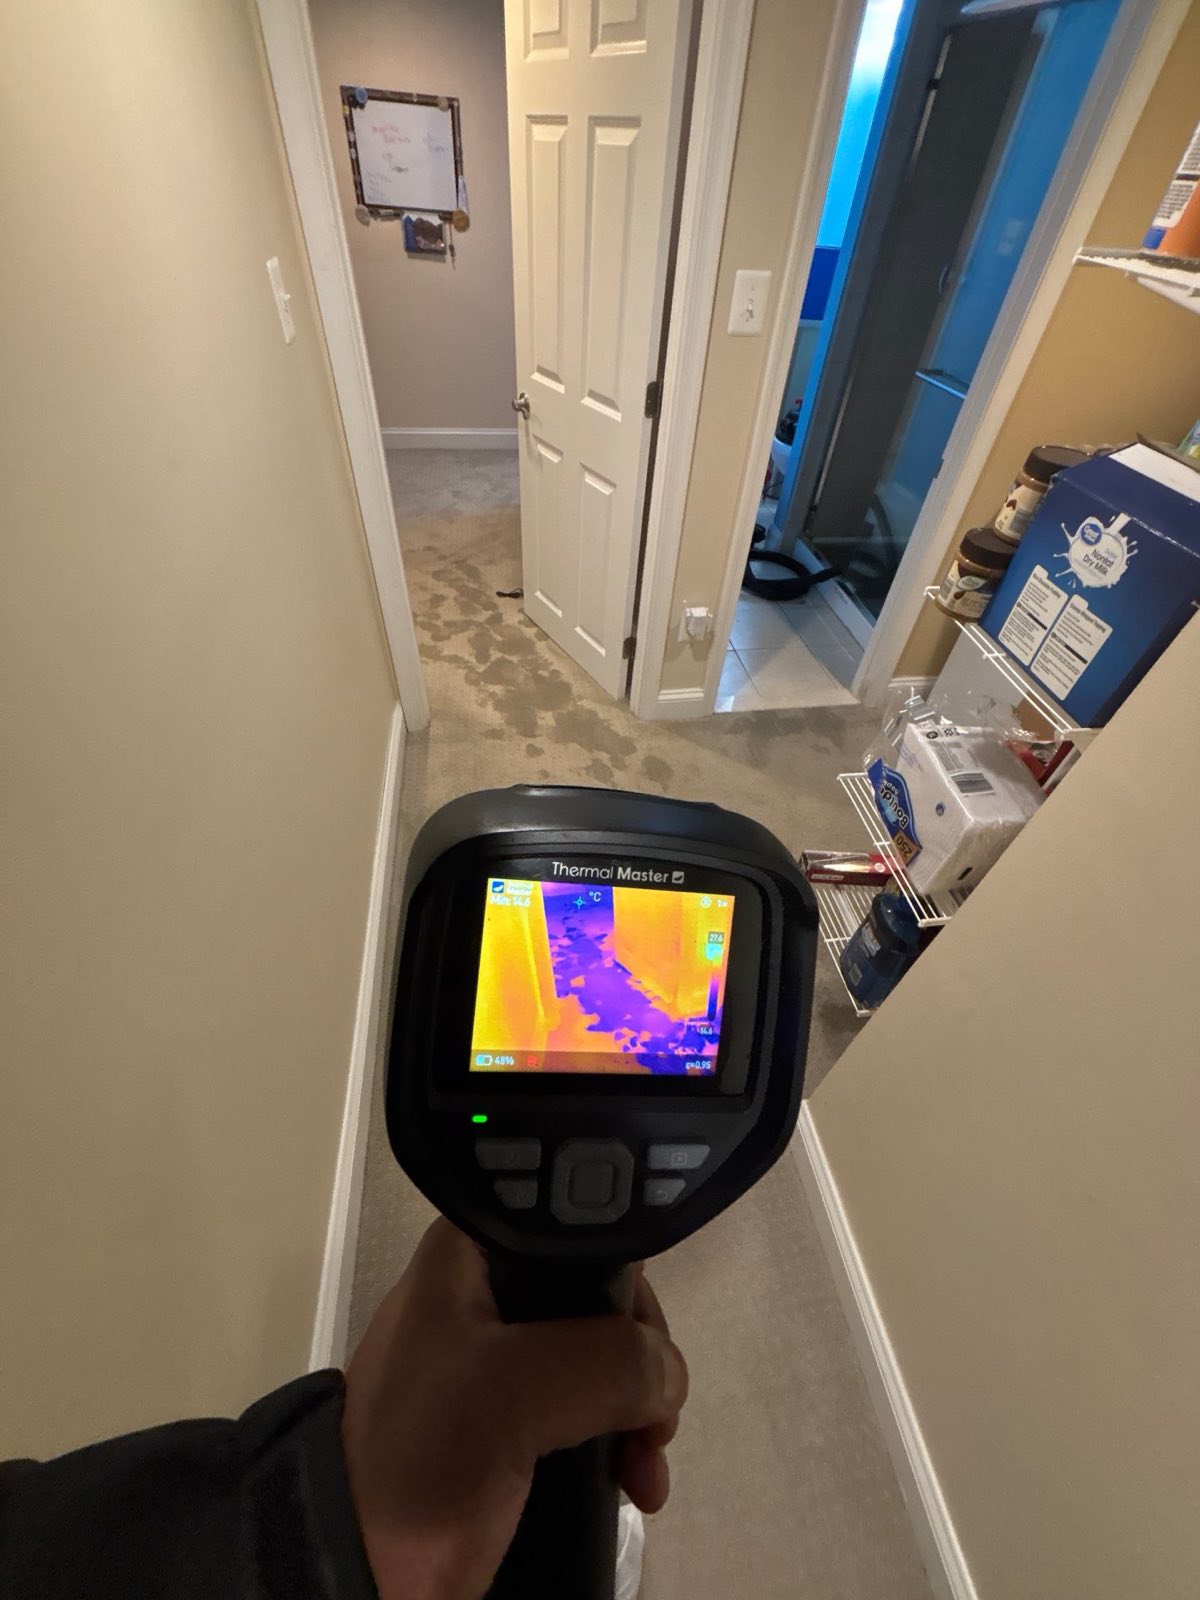
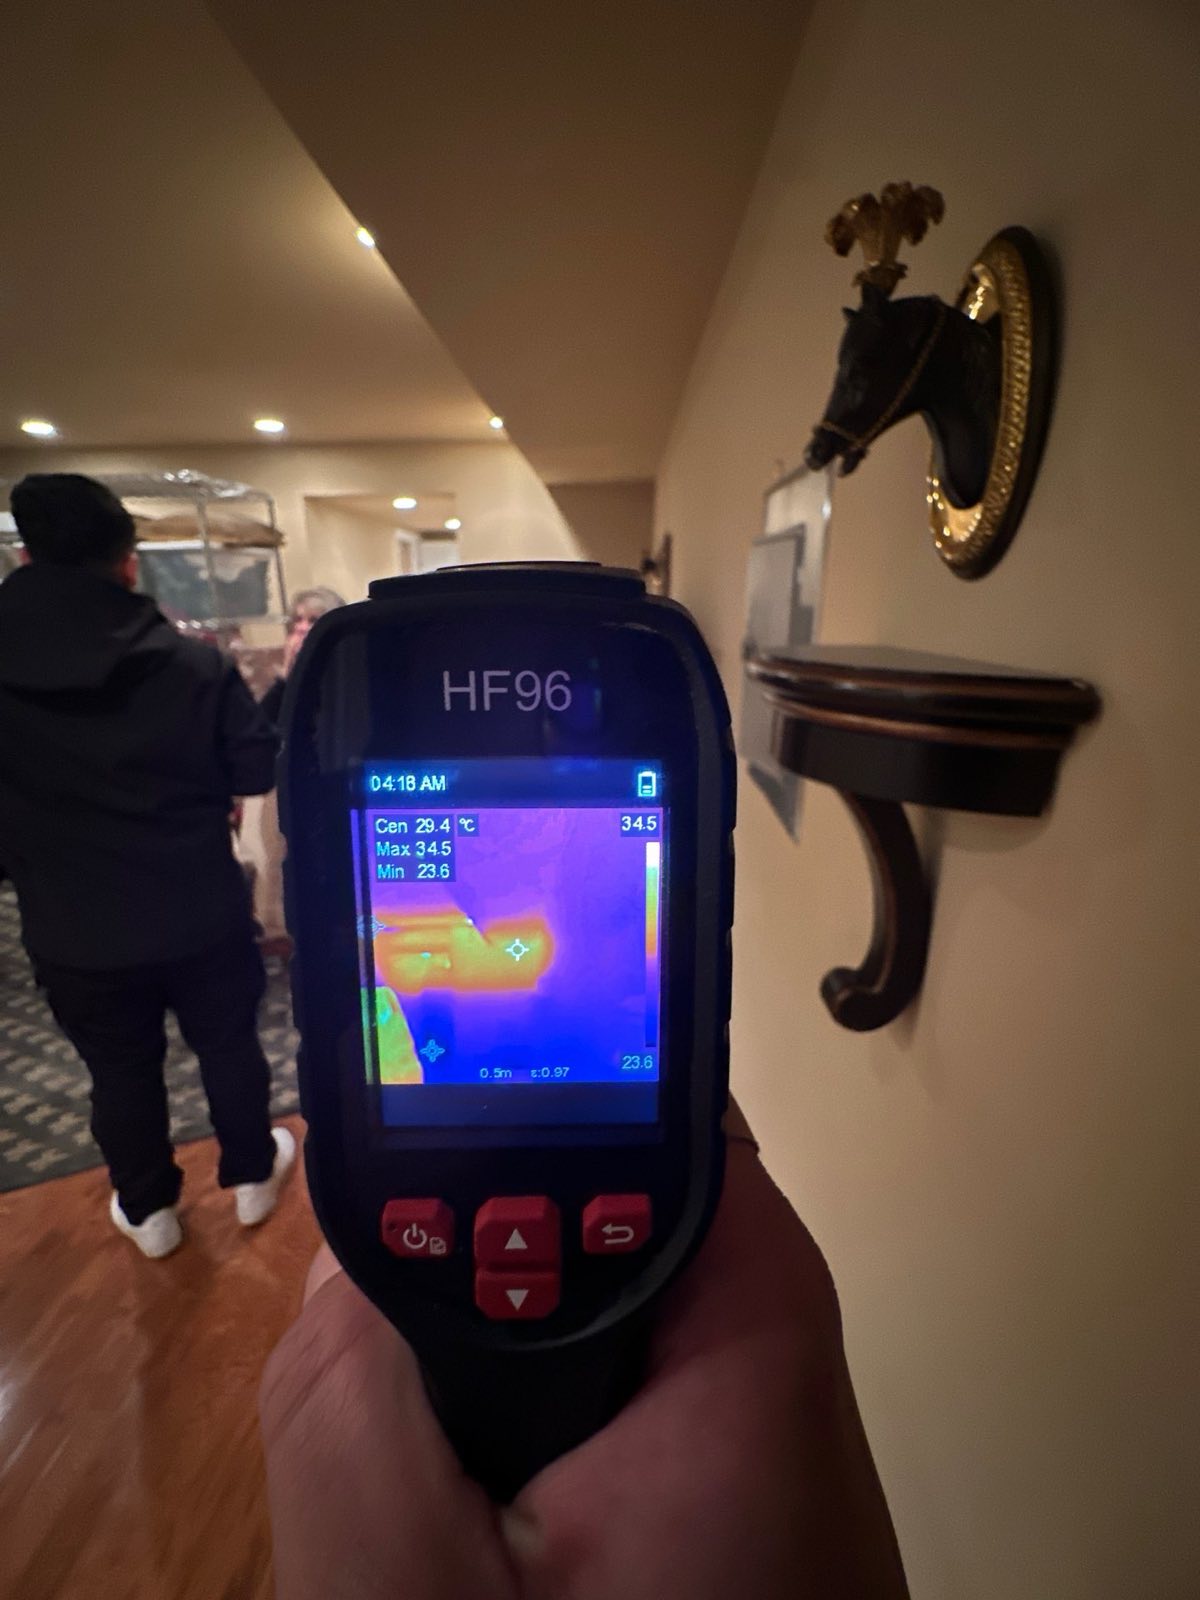
Miami Thermal Imaging Moisture Inspection

Thermal imaging found the wet cavities behind finishes that looked untouched, and meter readings confirmed each one before demolition decisions were made. Finding hidden moisture first is what keeps a job from being re-opened three weeks later as a mold complaint.

Miami, FL · Jun 2026576 PHOTOS
Before photo: water damage restoration project in Miami, FL — documented initial conditions by Restoration Doctor
● BEFORE
After photo: completed water damage restoration in Miami, FL — Restoration Doctor project documentation
● AFTER
Water Damage Miami, FL

Miami Emergency Flood Response

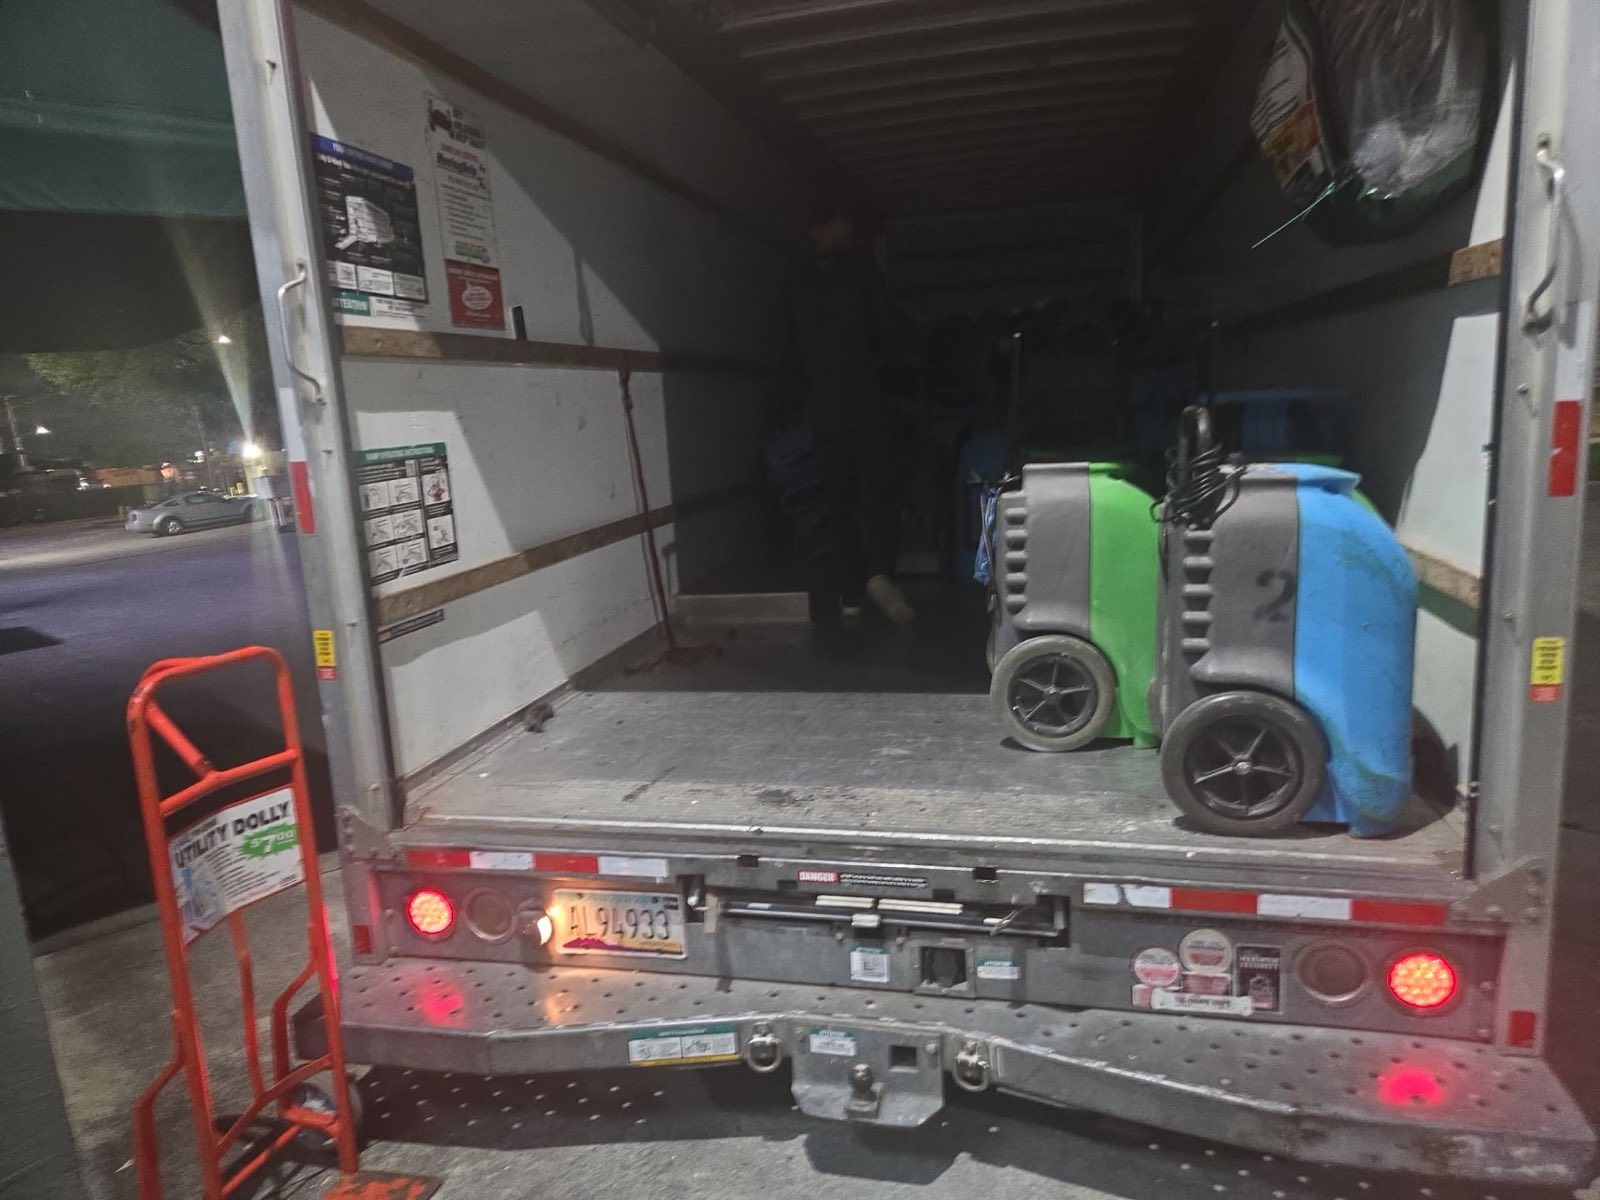
An after-hours flood call met a same-night response: safety check, power isolation, extraction, and a controlled drying environment established while the loss was still contained. In South Florida humidity, the hours between the event and the first dehumidifier decide how big the job becomes.

Miami, FL · May 2026425 PHOTOS
Before photo: water damage restoration project in Miami, FL — documented initial conditions by Restoration Doctor
● BEFORE
After photo: completed water damage restoration in Miami, FL — Restoration Doctor project documentation
● AFTER
Water Damage Miami, FL

Miami Wood Flooring Moisture Recovery

A second documented South Florida wood-floor recovery — mats, injection drying and daily moisture verification on the boards and subfloor, with the readings logged so the homeowner could show a carrier exactly what dried and when.

Miami, FL · Feb 2026425 PHOTOS
Before photo: water damage restoration project in Tysons, VA — documented initial conditions by Restoration Doctor
● BEFORE
After photo: completed water damage restoration in Tysons, VA — Restoration Doctor project documentation
● AFTER
Water Damage Tysons, VA

Commercial Suite After-Hours Dry-Out

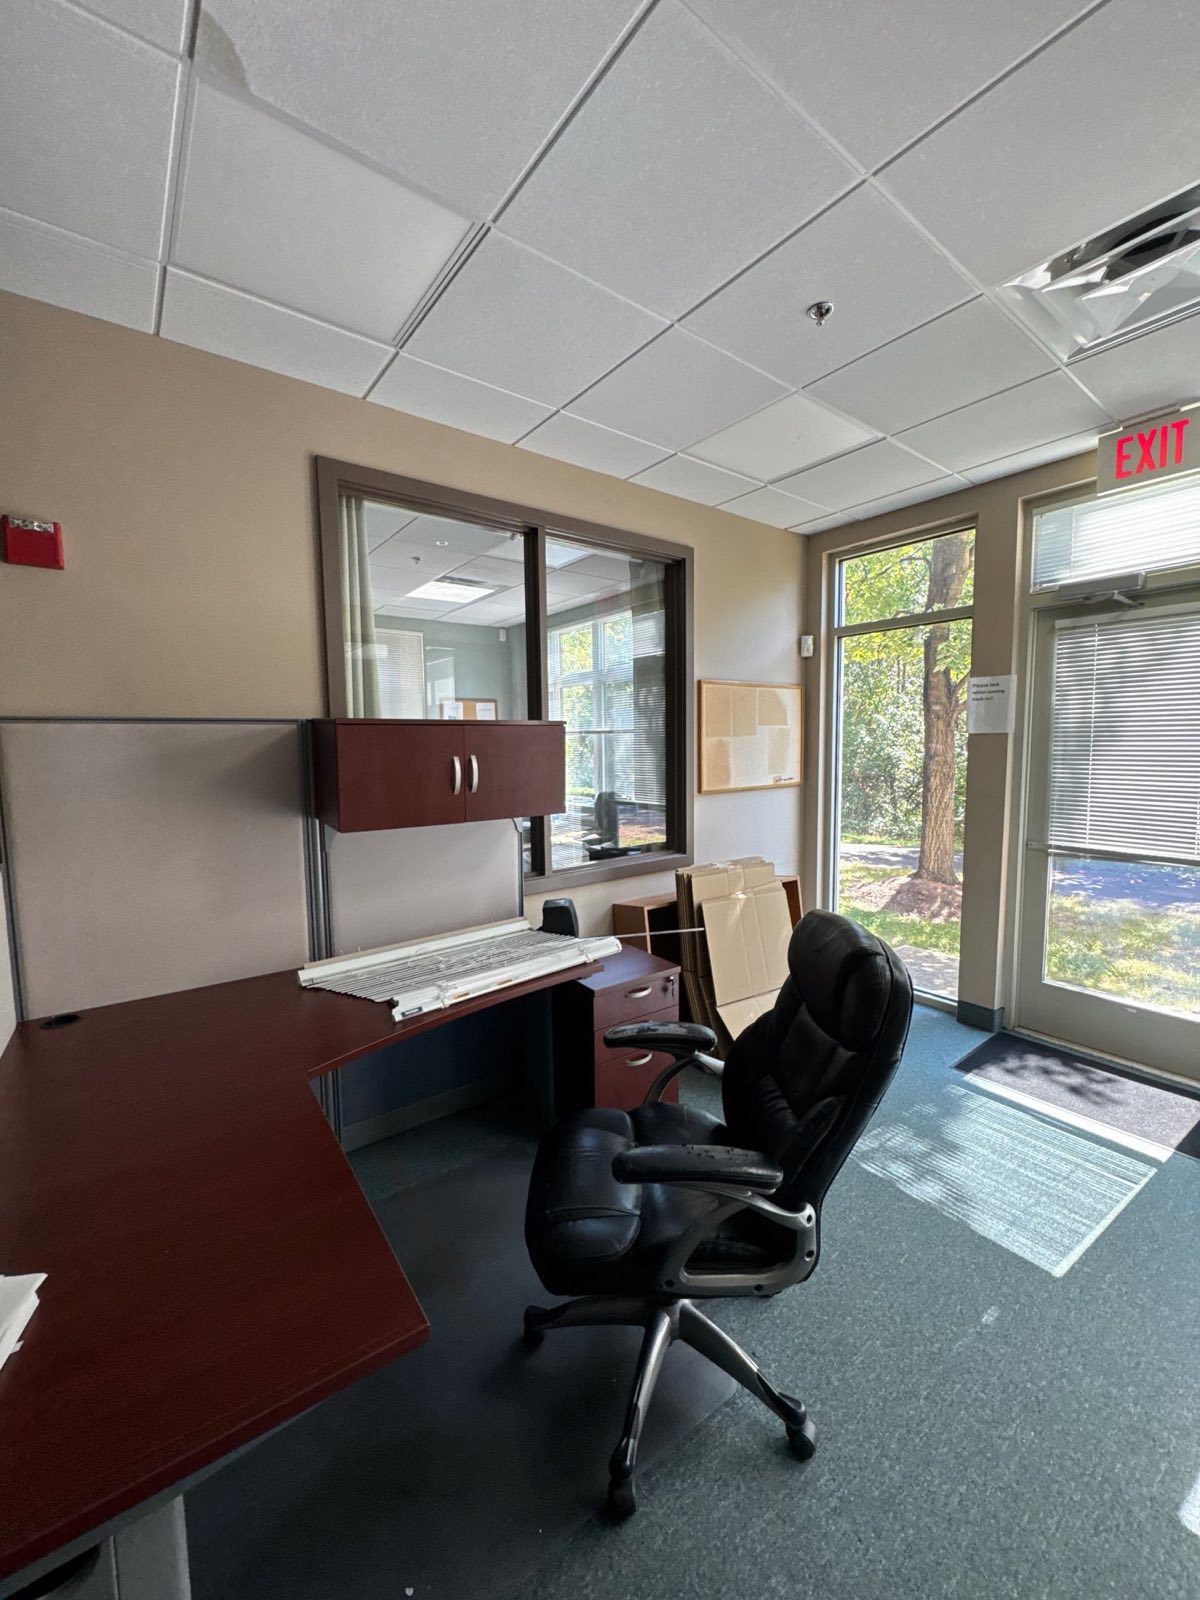
Water intrusion in an occupied office suite was dried around the tenant's operations — extraction, air movers and dehumidification staged overnight so the space returned to service without a full shutdown. From the wider Restoration Doctor portfolio.

Tysons, VA · Sep 2025381 PHOTOS
Before photo: sewage cleanup project in Alexandria, VA — documented initial conditions by Restoration Doctor
● BEFORE
After photo: completed sewage cleanup in Alexandria, VA — Restoration Doctor project documentation
● AFTER
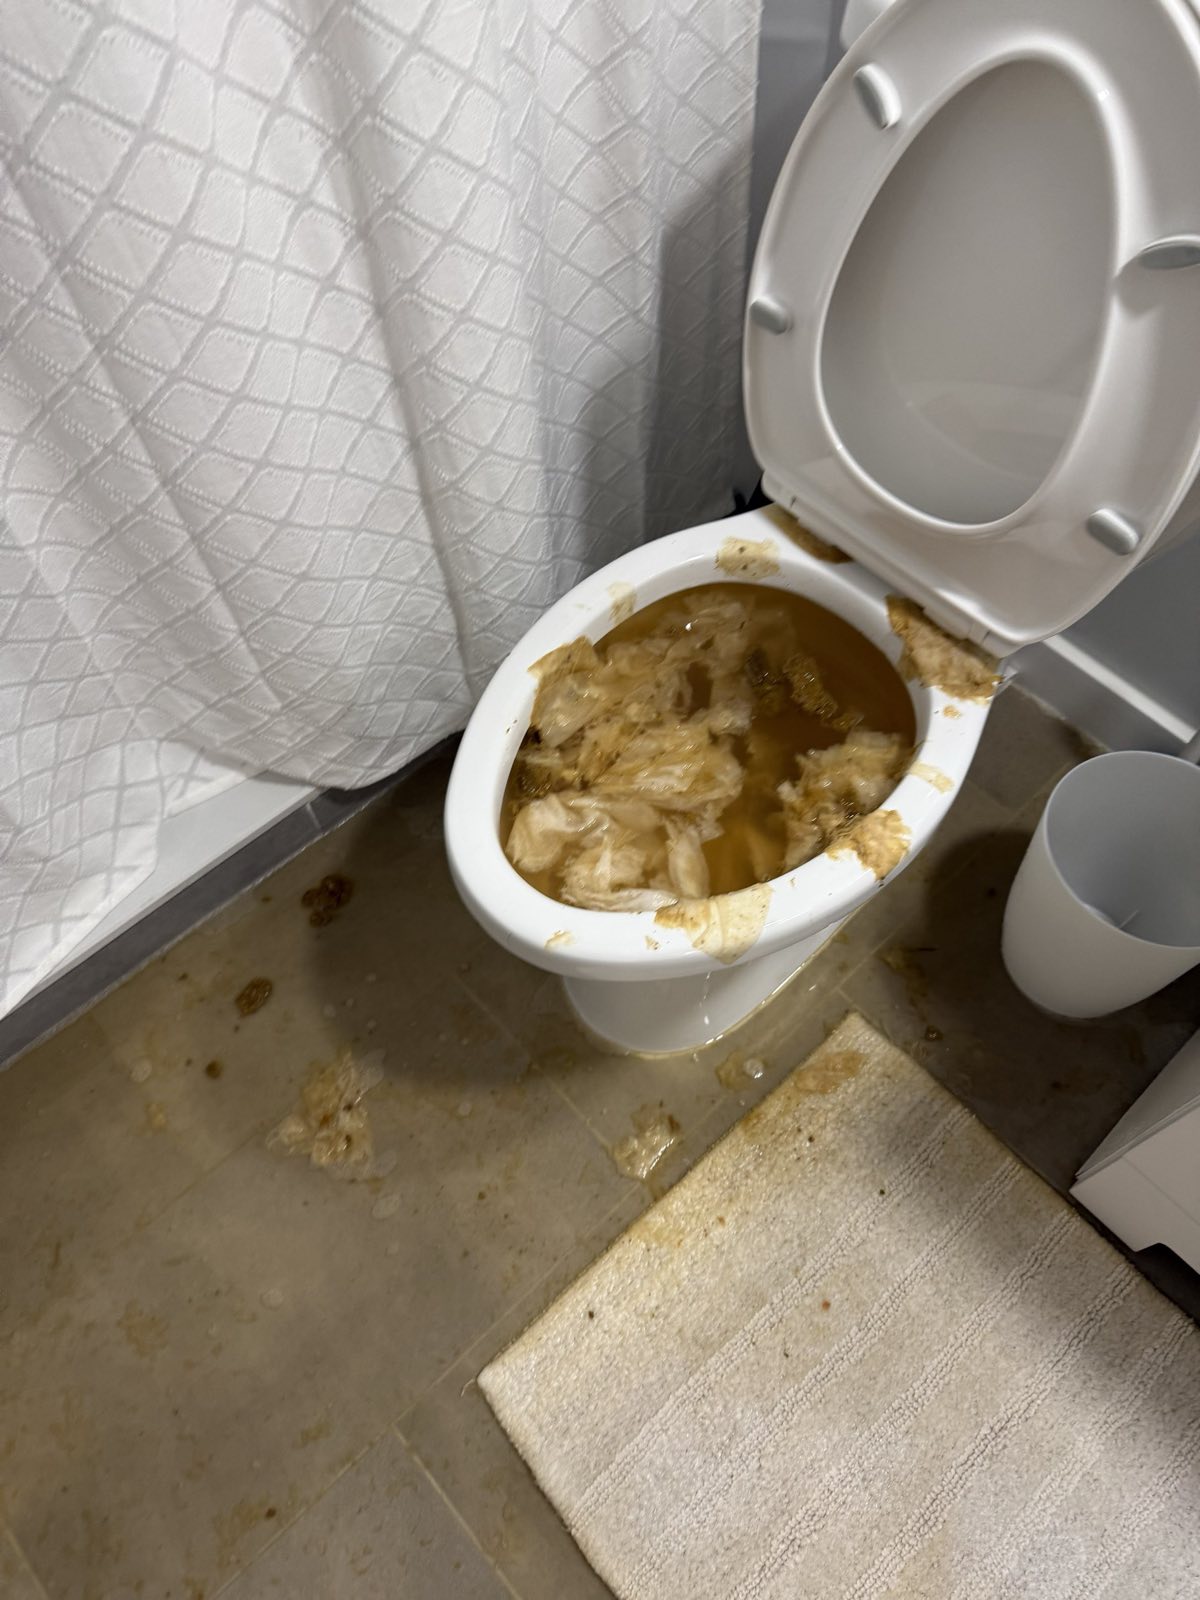
Sewage Cleanup Alexandria, VA

Category 3 Sewage Backup Cleanup

A sewer backup turned a lower level into a Category 3 biohazard. Crews contained the area, removed contaminated porous materials as regulated waste, applied EPA-registered antimicrobial treatment, and verified the space dry and sanitary before reconstruction. From the wider Restoration Doctor portfolio.

Alexandria, VA · Mar 2026409 PHOTOS
Before photo: mold remediation project in Arlington, VA — documented initial conditions by Restoration Doctor
● BEFORE
After photo: completed mold remediation in Arlington, VA — Restoration Doctor project documentation
● AFTER
Mold Remediation Arlington, VA

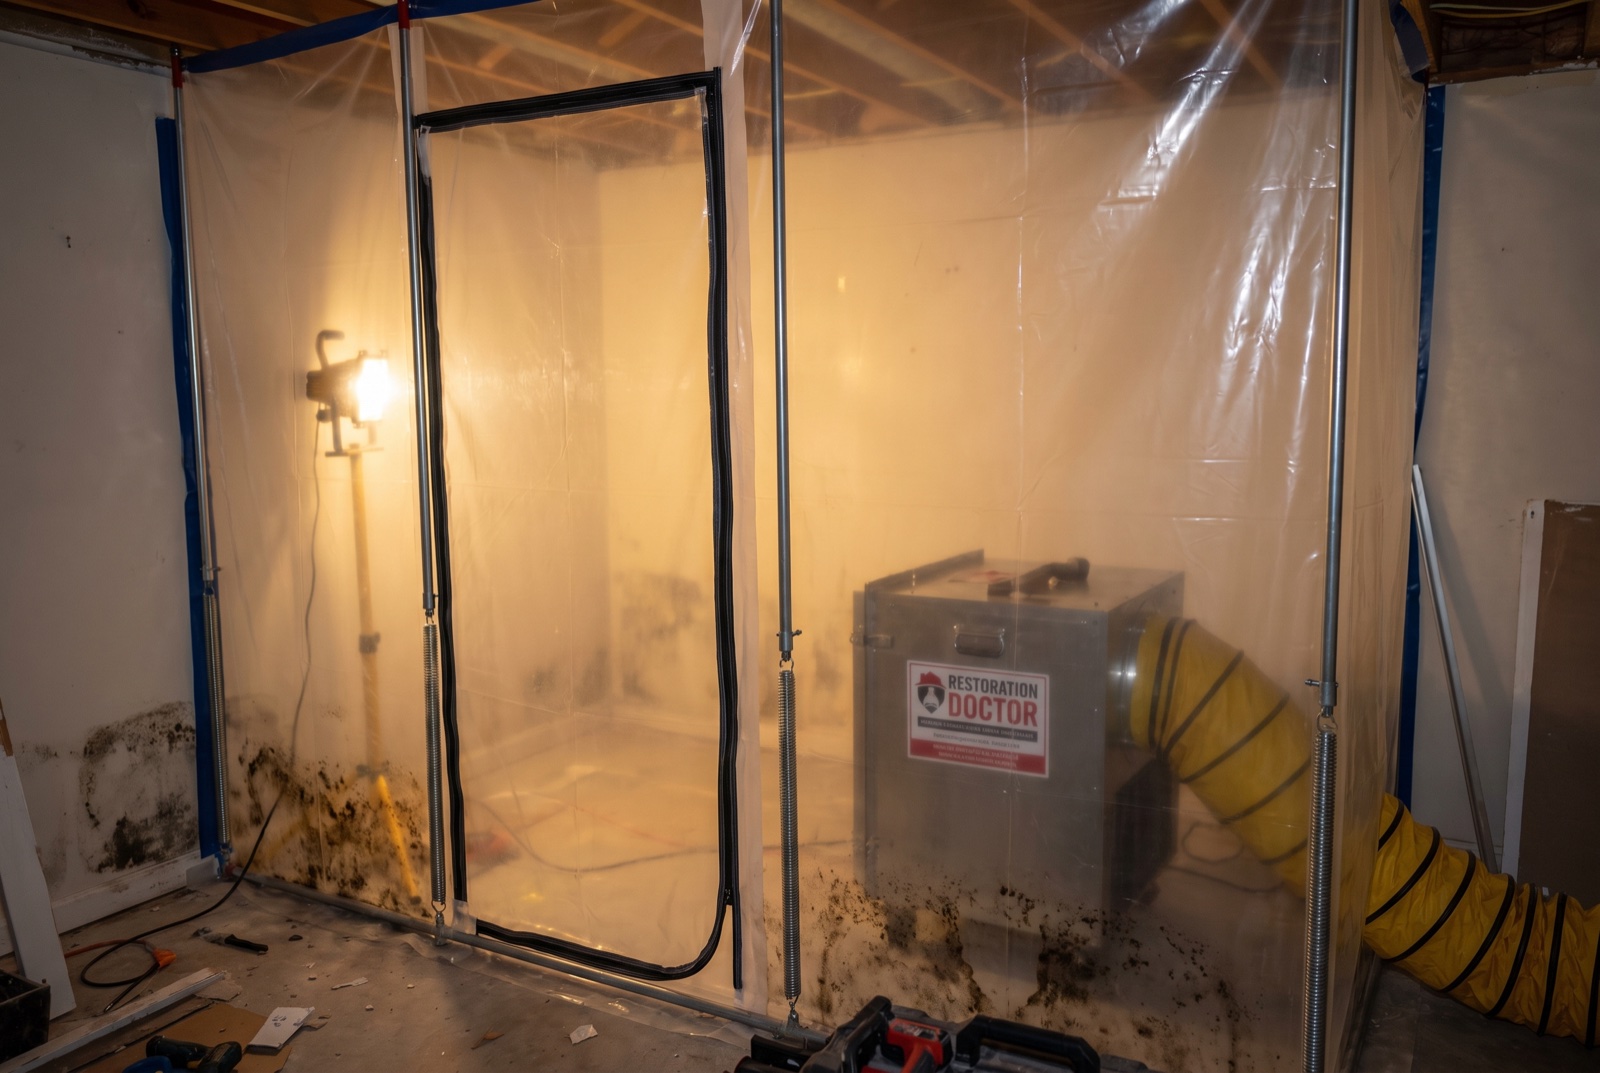
Mold Remediation Under S520 Containment

Hidden growth behind a wall was handled under IICRC S520 containment: negative-air HEPA scrubbing, selective demolition of colonised material, and correction of the moisture source so the growth could not simply return. From the wider Restoration Doctor portfolio.

Arlington, VA · May 2026552 PHOTOS
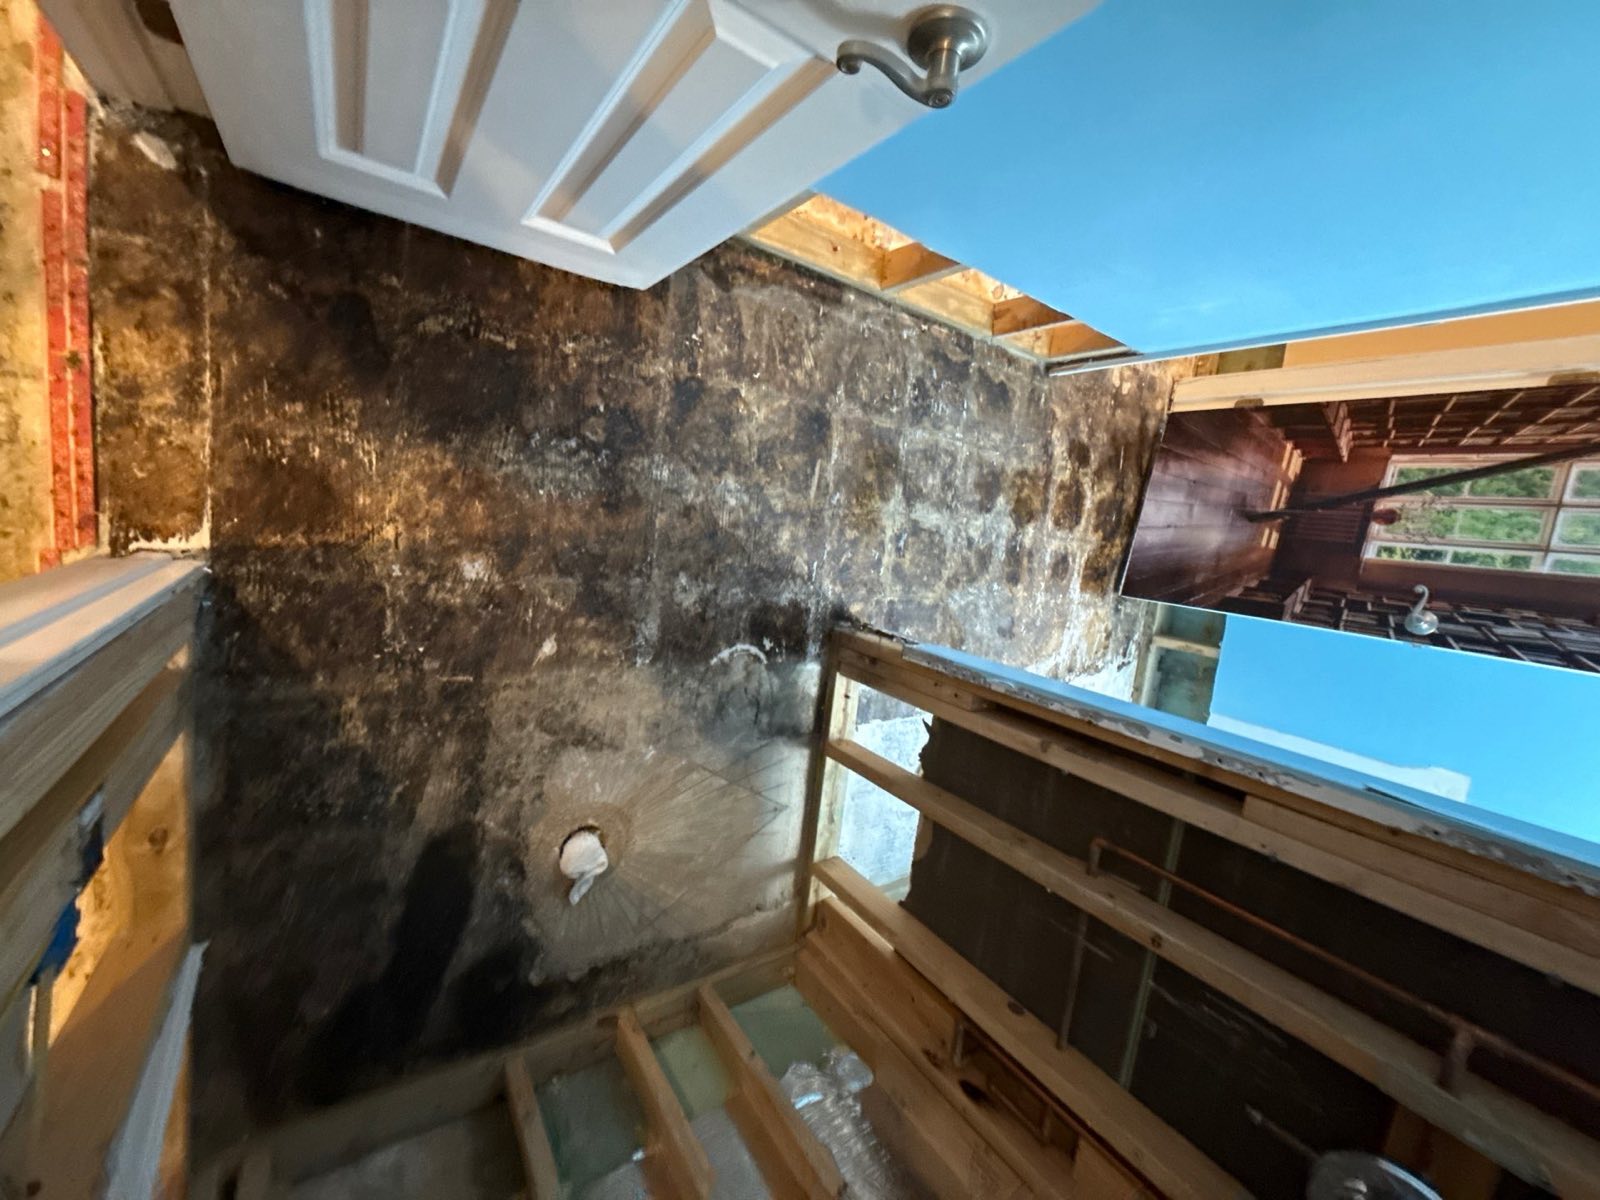
Before photo: water damage restoration project in Washington, DC — documented initial conditions by Restoration Doctor
● BEFORE
After photo: completed water damage restoration in Washington, DC — Restoration Doctor project documentation
● AFTER
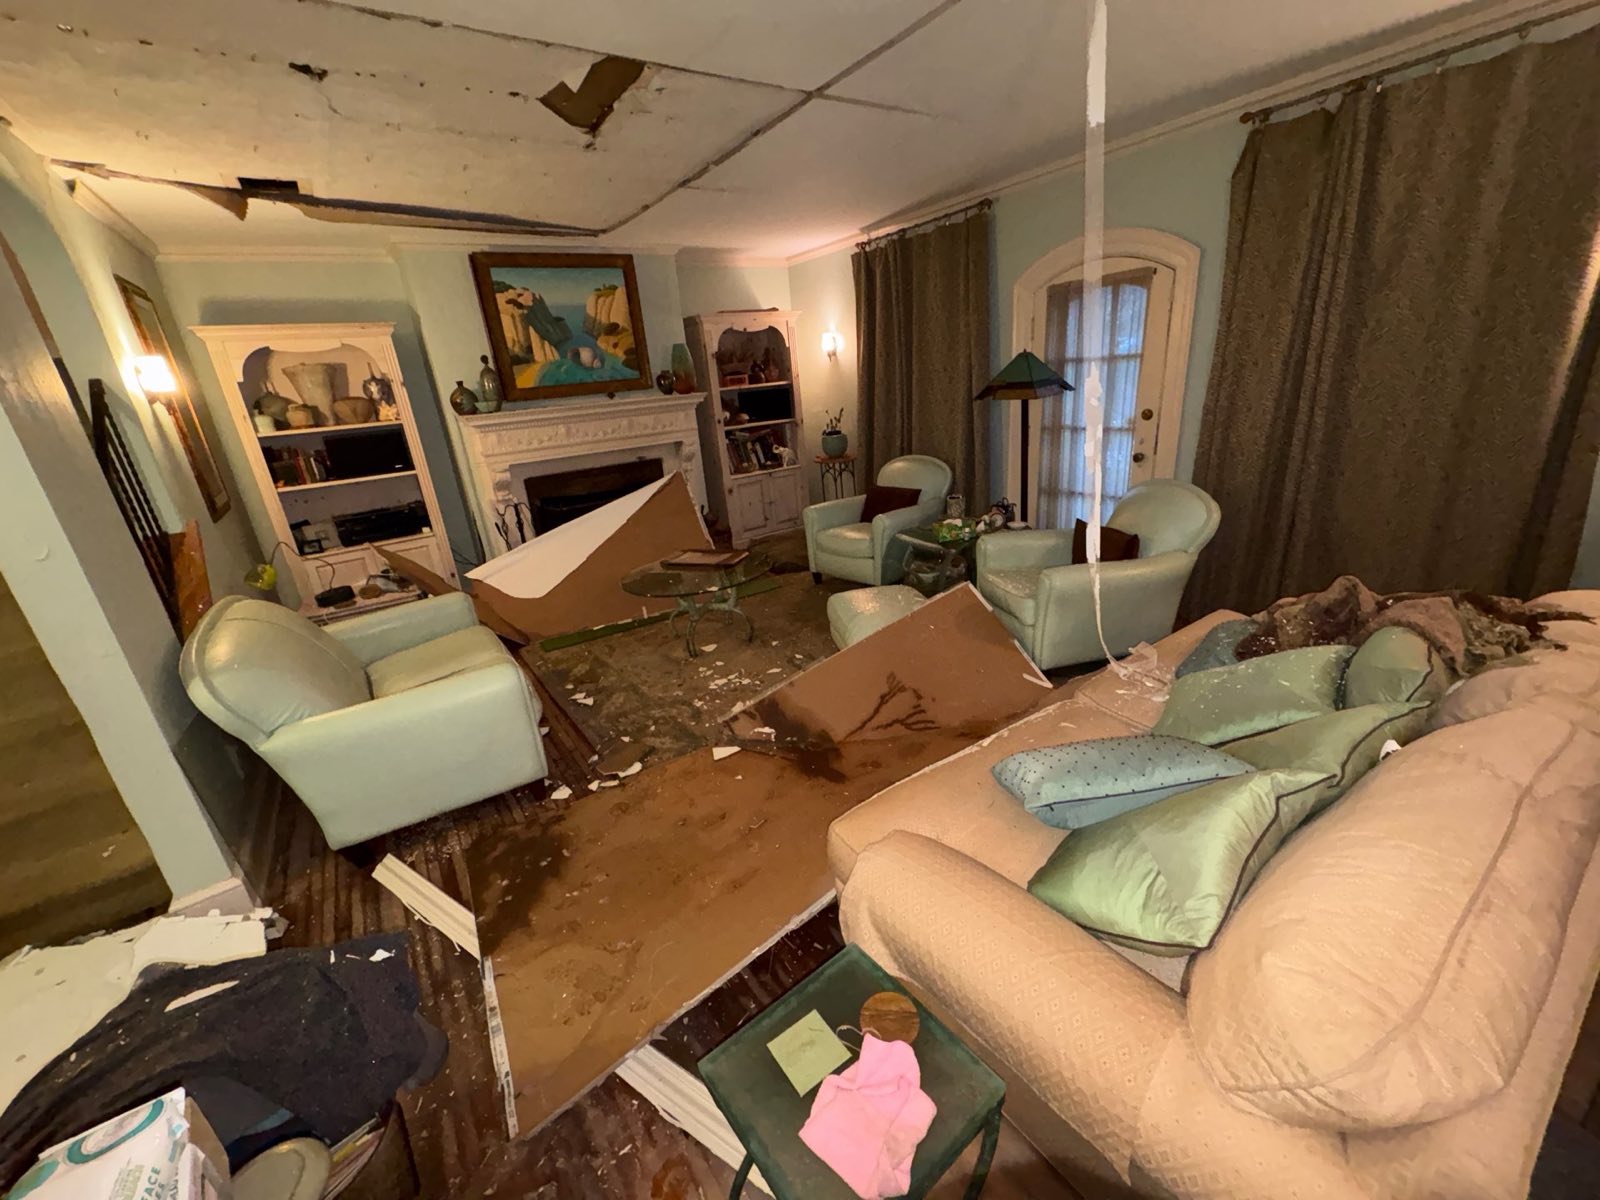
Water Damage Washington, DC

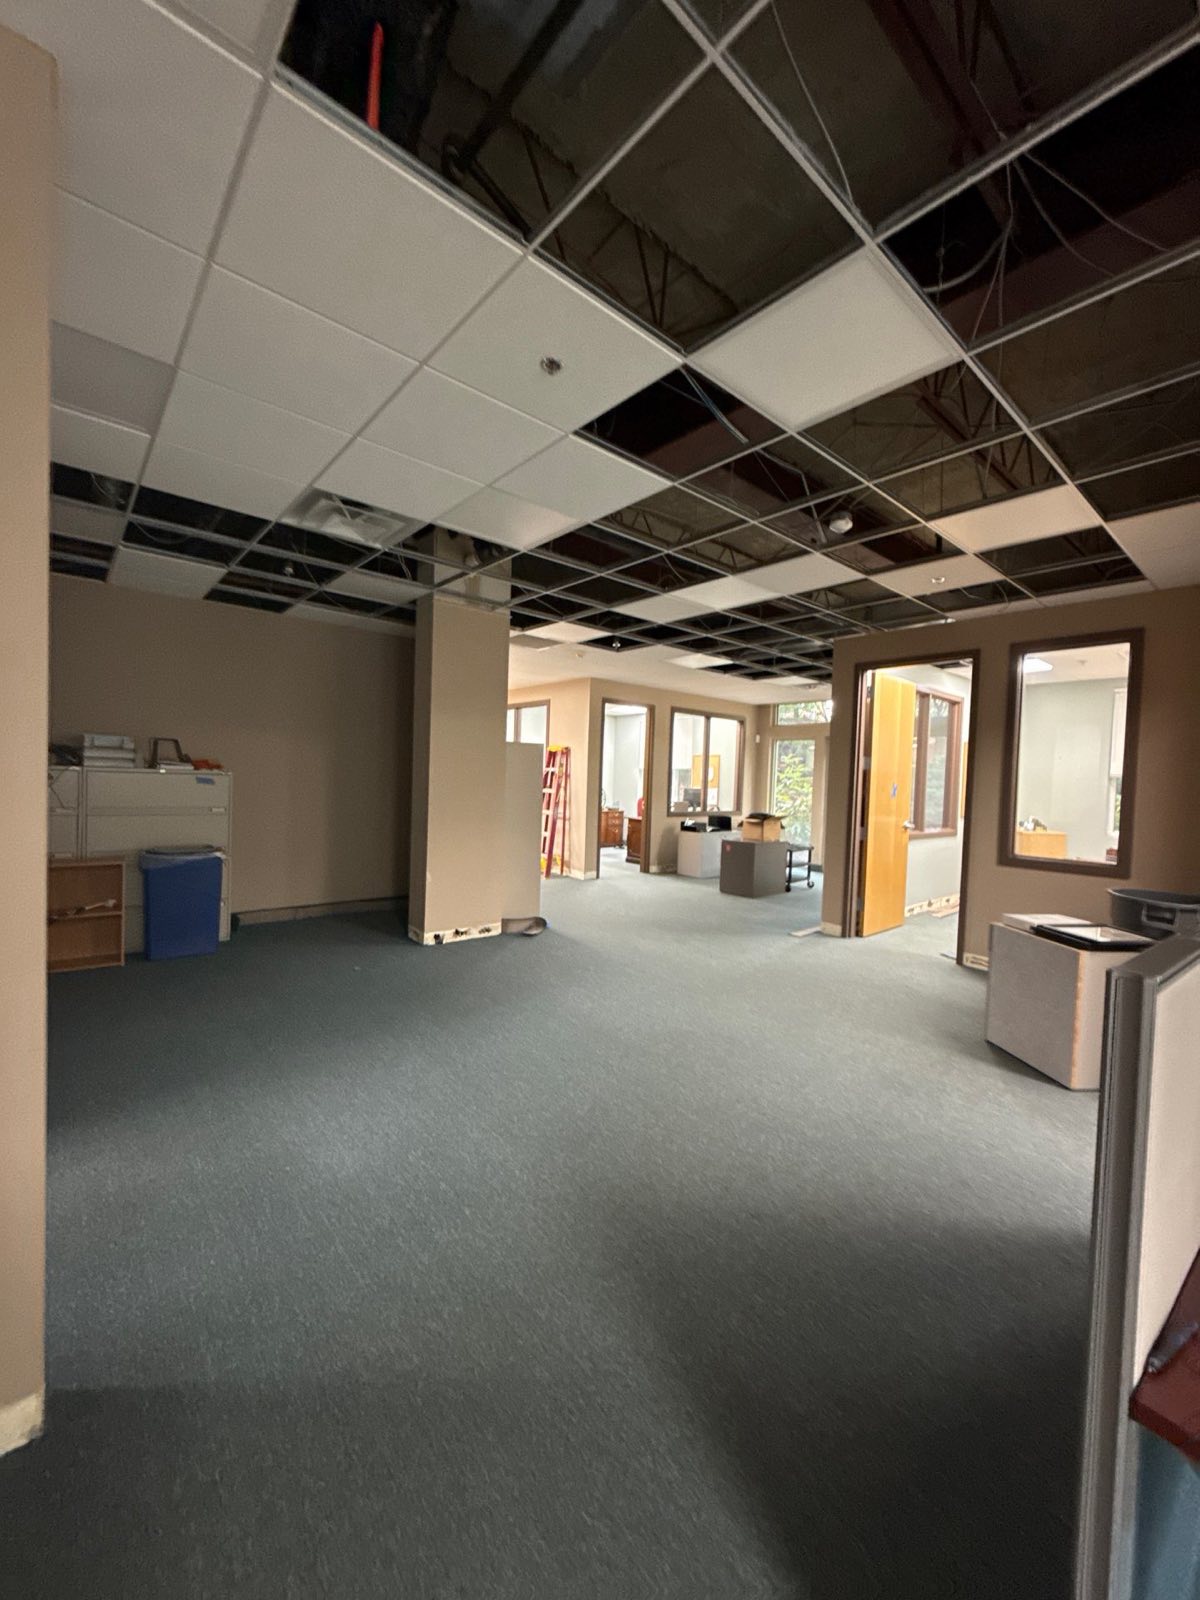
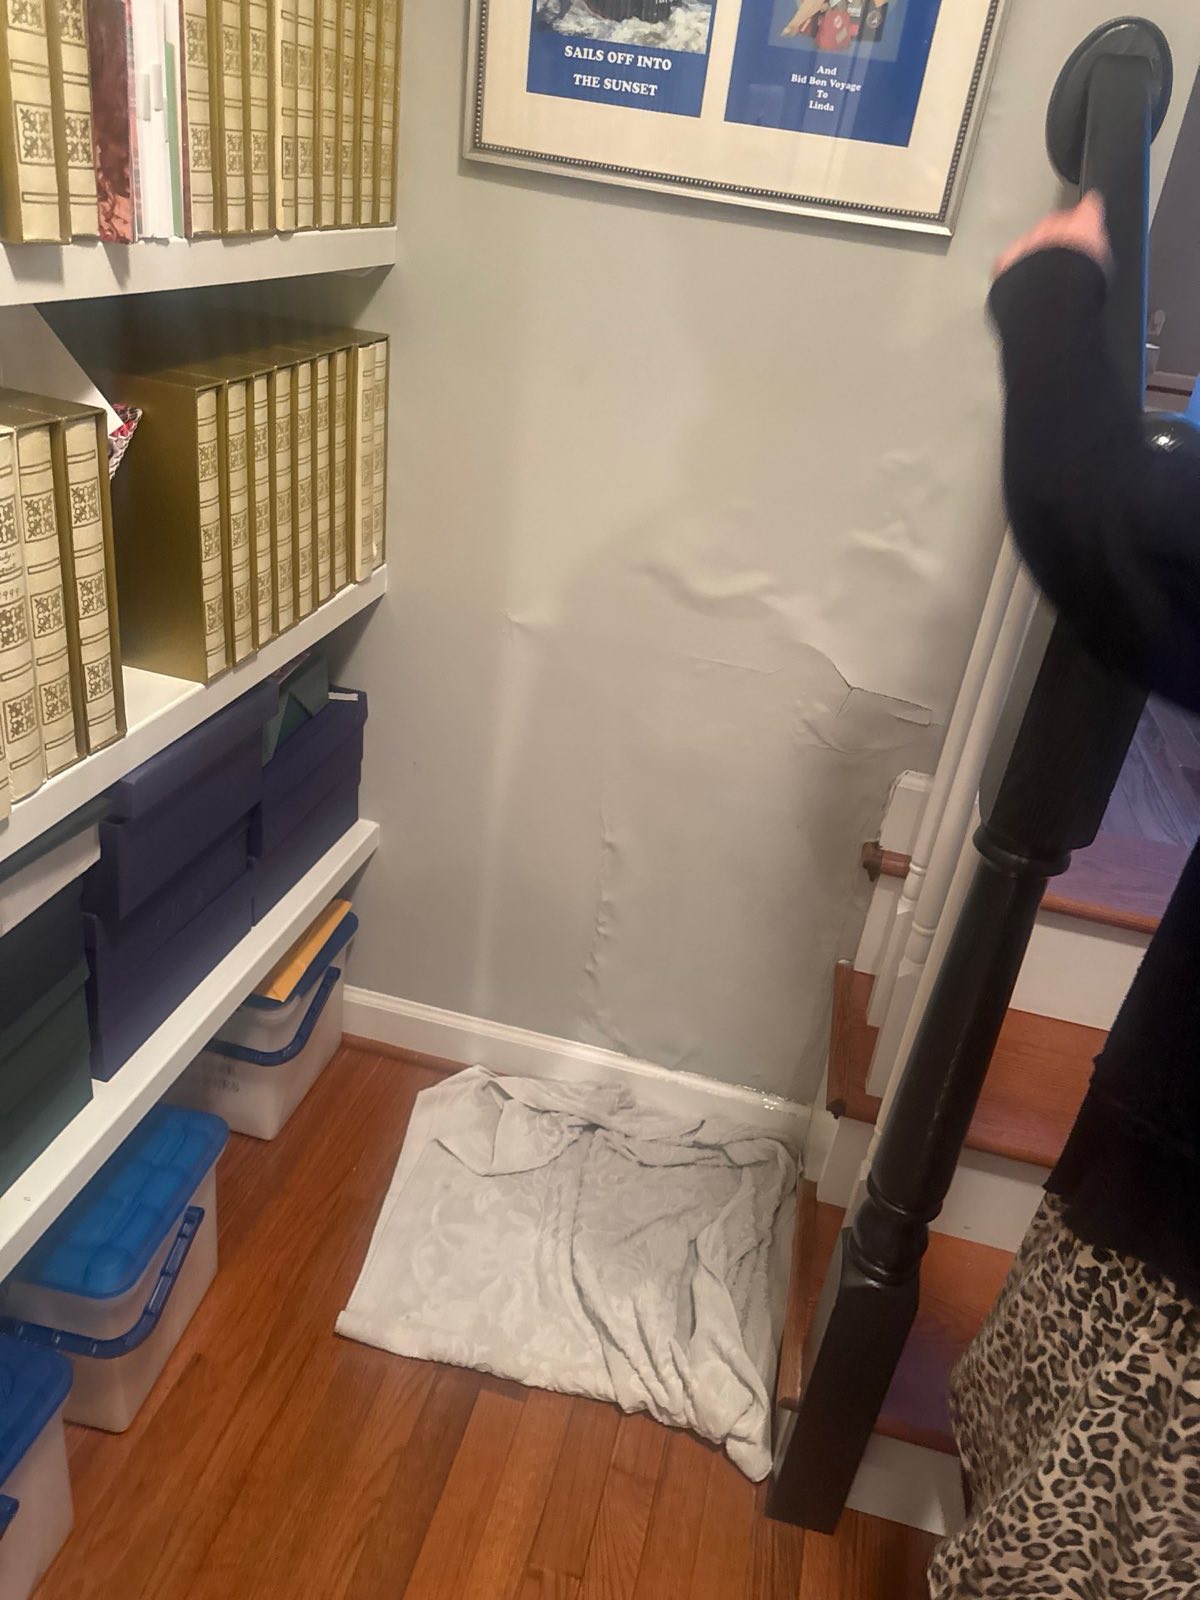
Ceiling Collapse Water Damage Restoration

A saturated ceiling assembly came down before anyone could get to it. The area was made safe, debris removed, the cavity above opened and dried, and the whole sequence photographed for the owner's file. From the wider Restoration Doctor portfolio.

Washington, DC · Dec 20251,018 PHOTOS
Before photo: water damage restoration project in Washington, DC — documented initial conditions by Restoration Doctor
● BEFORE
After photo: completed water damage restoration in Washington, DC — Restoration Doctor project documentation
● AFTER
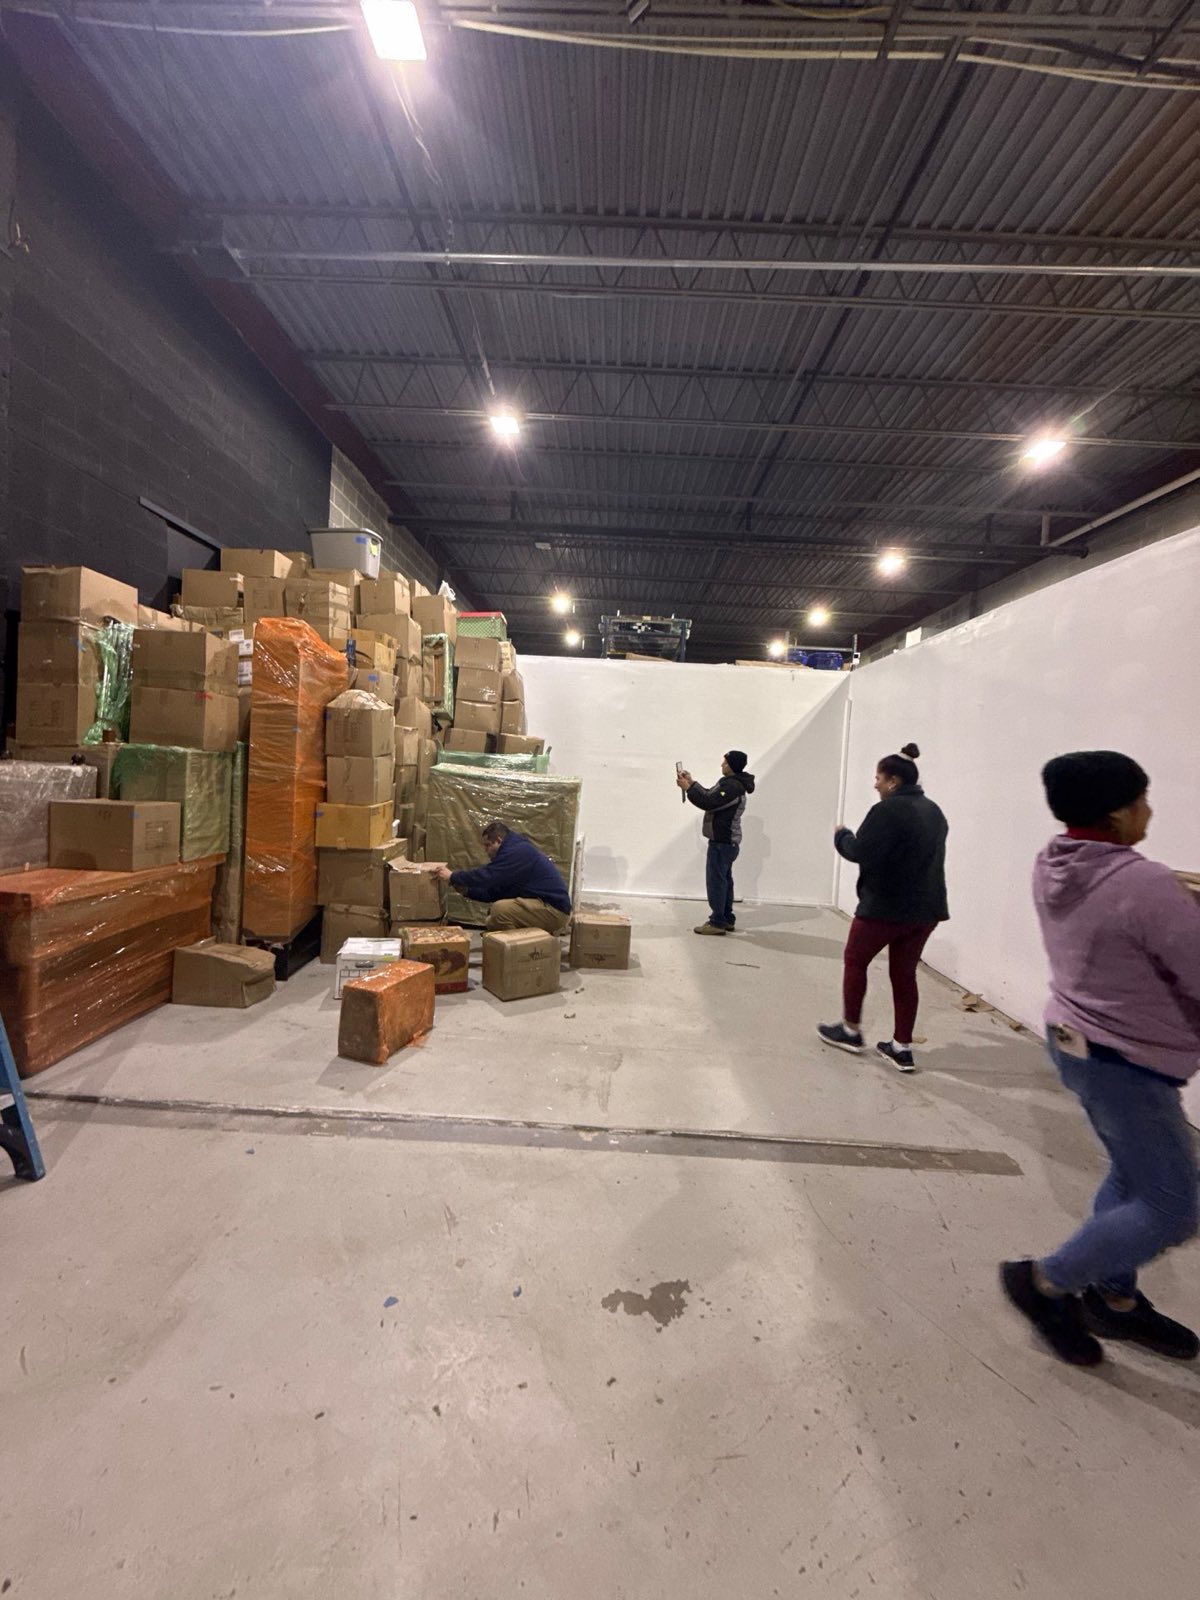
Water Damage Washington, DC

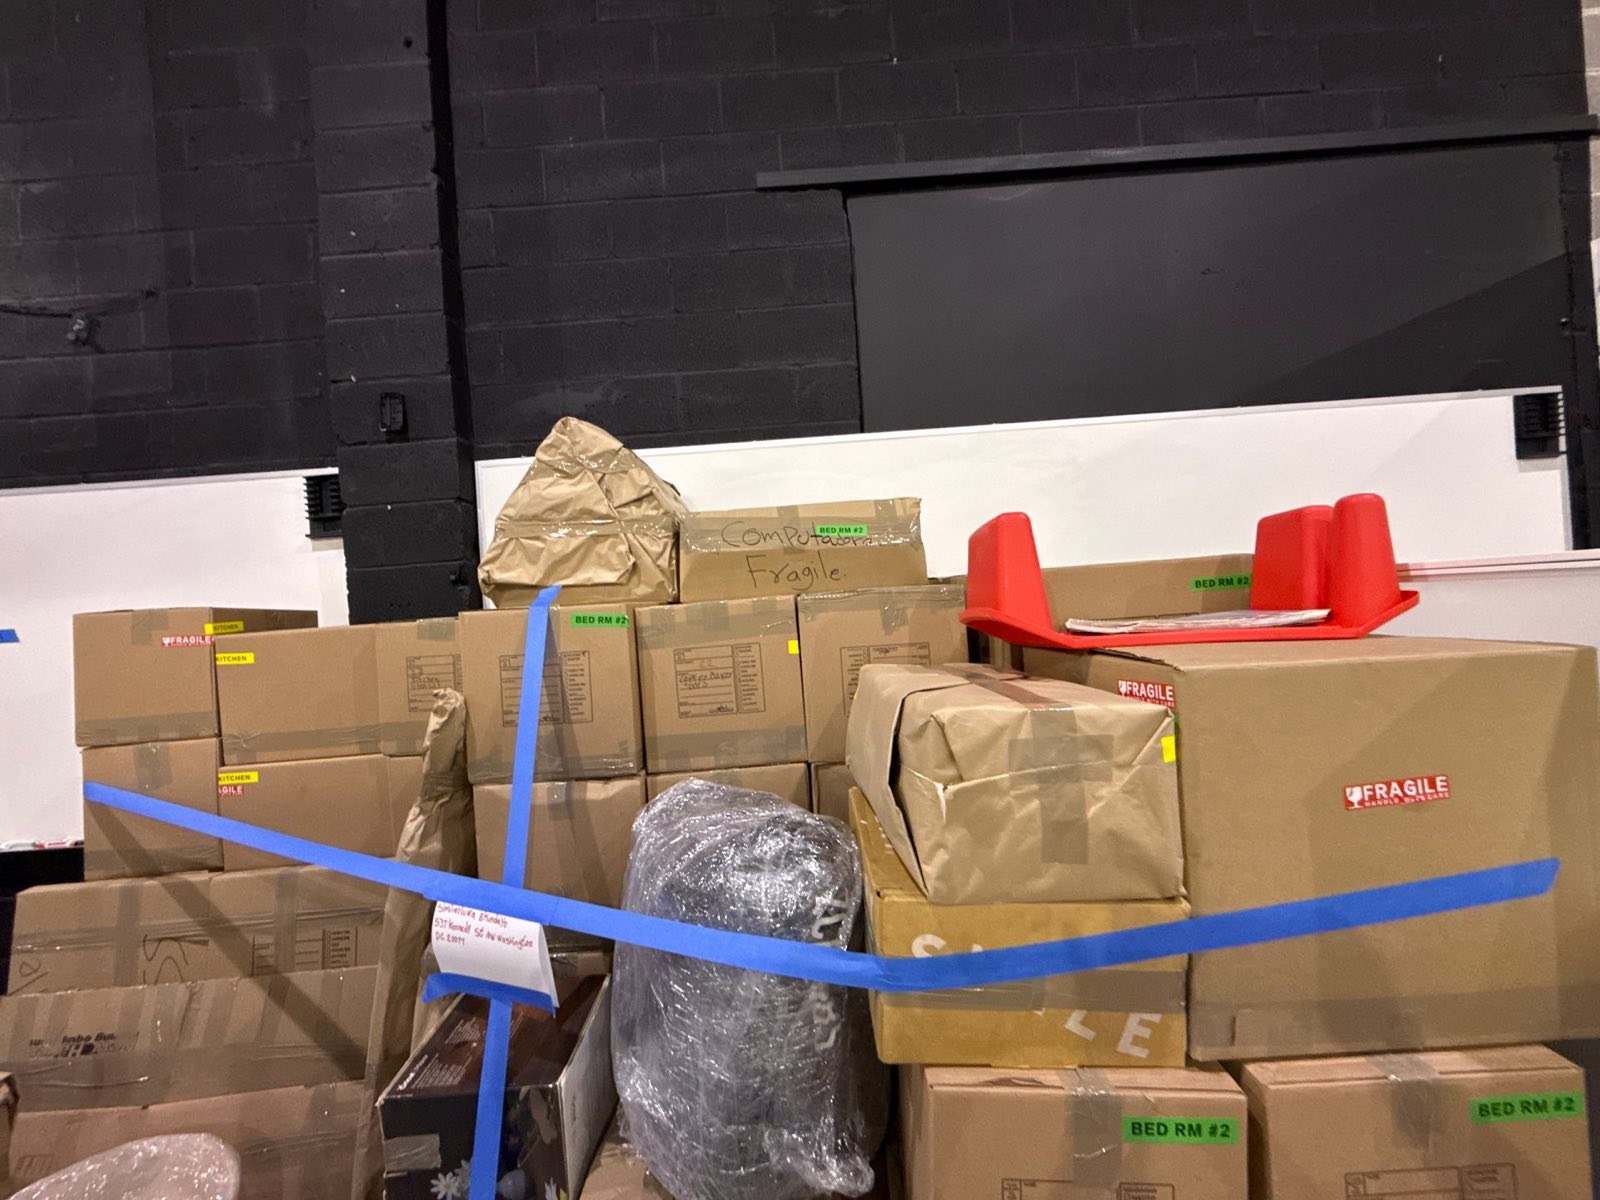
Inventoried Contents Pack-Out

Contents were photographed, barcoded and inventoried on the way out, cleaned and held in climate-controlled storage while the structure dried, then packed back. The inventory is the document that keeps a contents claim from turning into an argument. From the wider Restoration Doctor portfolio.

Washington, DC · Apr 2026565 PHOTOS
Before photo: water damage restoration project in McLean, VA — documented initial conditions by Restoration Doctor
● BEFORE
After photo: completed water damage restoration in McLean, VA — Restoration Doctor project documentation
● AFTER
Water Damage McLean, VA

Flood-Cut Demolition & Structural Drying

Where drywall had wicked water too high to save, crews made clean flood cuts, removed the saturated material, and set a controlled drying system on the exposed cavities — demolishing only what genuinely could not be dried. From the wider Restoration Doctor portfolio.

McLean, VA · Feb 2026474 PHOTOS
FILE / BROWARD SCENARIOS

What these losses look like in Fort Lauderdale

Six representative, anonymised scenarios drawn from the kinds of losses Broward County housing stock actually produces — canal-front tidal flooding, tower condensate overflows, cast-iron failures under mid-century slabs. These are typical scenarios written to show the sequence of work, not specific customer jobs: no names, addresses, dates or claim outcomes.

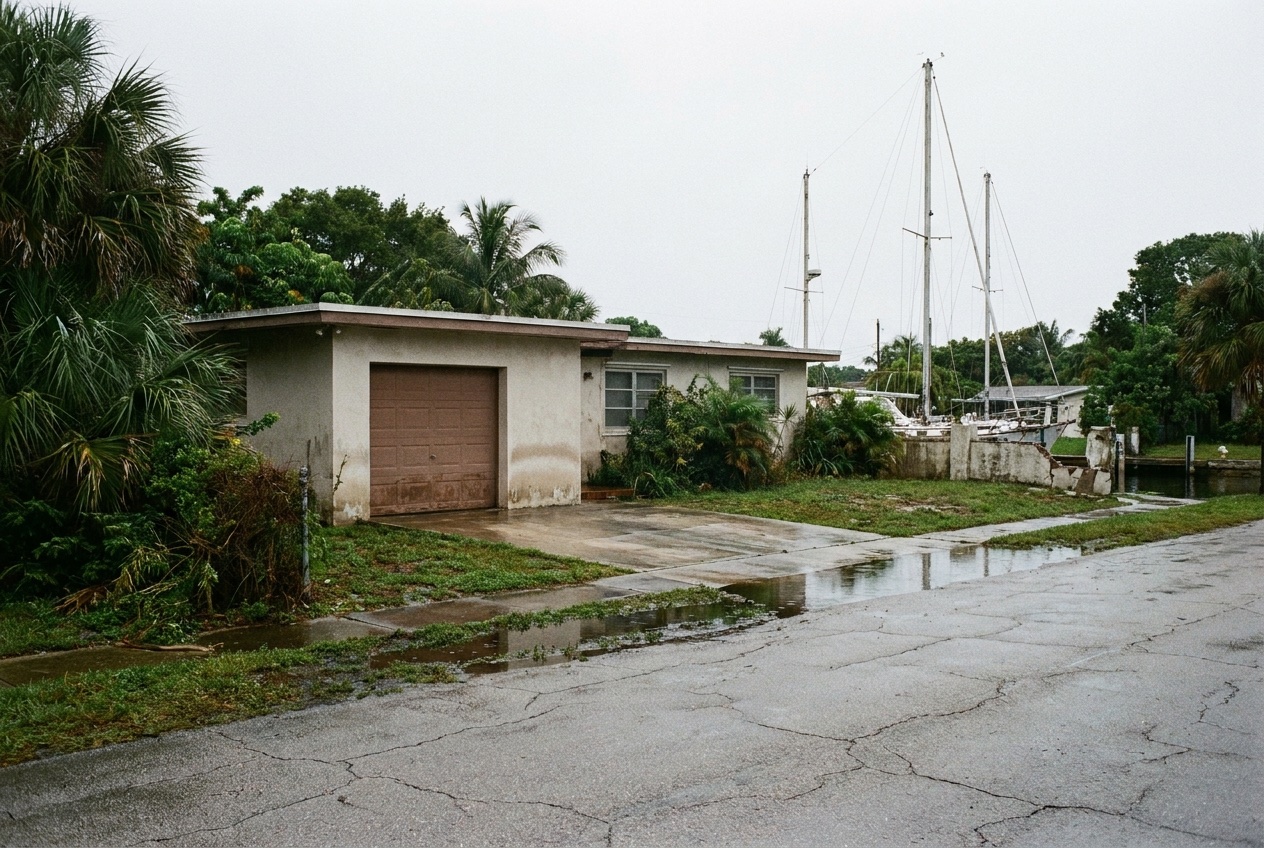
Slab-on-grade canal-front ranch home in Fort Lauderdale after tidal floodwater receded
Las Olas Isles canal-front home

King tide over a low seawall

A fall king tide pushes brackish canal water across a low section of seawall and up through the yard drains of a single-storey finger-isle home. By morning the water has receded on its own, the tile looks dry, and the owner assumes the problem left with the tide. It did not — salt has moved into the wall bases, the cabinet toe-kicks and the slab, and salt is hygroscopic, so those materials keep pulling humidity back out of the air.

How the response runs
  1. 01Safety and category assessment first: canal and street water is treated as contaminated, not clean, which changes what can be dried in place and what has to go.
  2. 02Moisture map the perimeter with pinless meters and thermal imaging to find the true wet line, which is almost always higher than the visible tide line.
  3. 03Extract residual water, then remove the porous materials that cannot be decontaminated — carpet and pad, saturated insulation, particleboard cabinet bases and the lower band of drywall.
  4. 04Rinse and flush salvageable assemblies rather than simply drying them, because drying alone leaves chloride behind.
  5. 05Apply an EPA-registered antimicrobial and establish a controlled drying environment with LGR dehumidification sized to the space, not to the truck.
  6. 06Log psychrometric readings daily until every monitored point holds its dry standard, then re-check for corrosion at fasteners, hardware and equipment terminations.

Outcome: The homeowner gets a dried, decontaminated structure and a complete photo, moisture and line-item documentation package they can hand to their carrier — and, more importantly, a building that will not start smelling musty again the first humid week after the crew leaves.
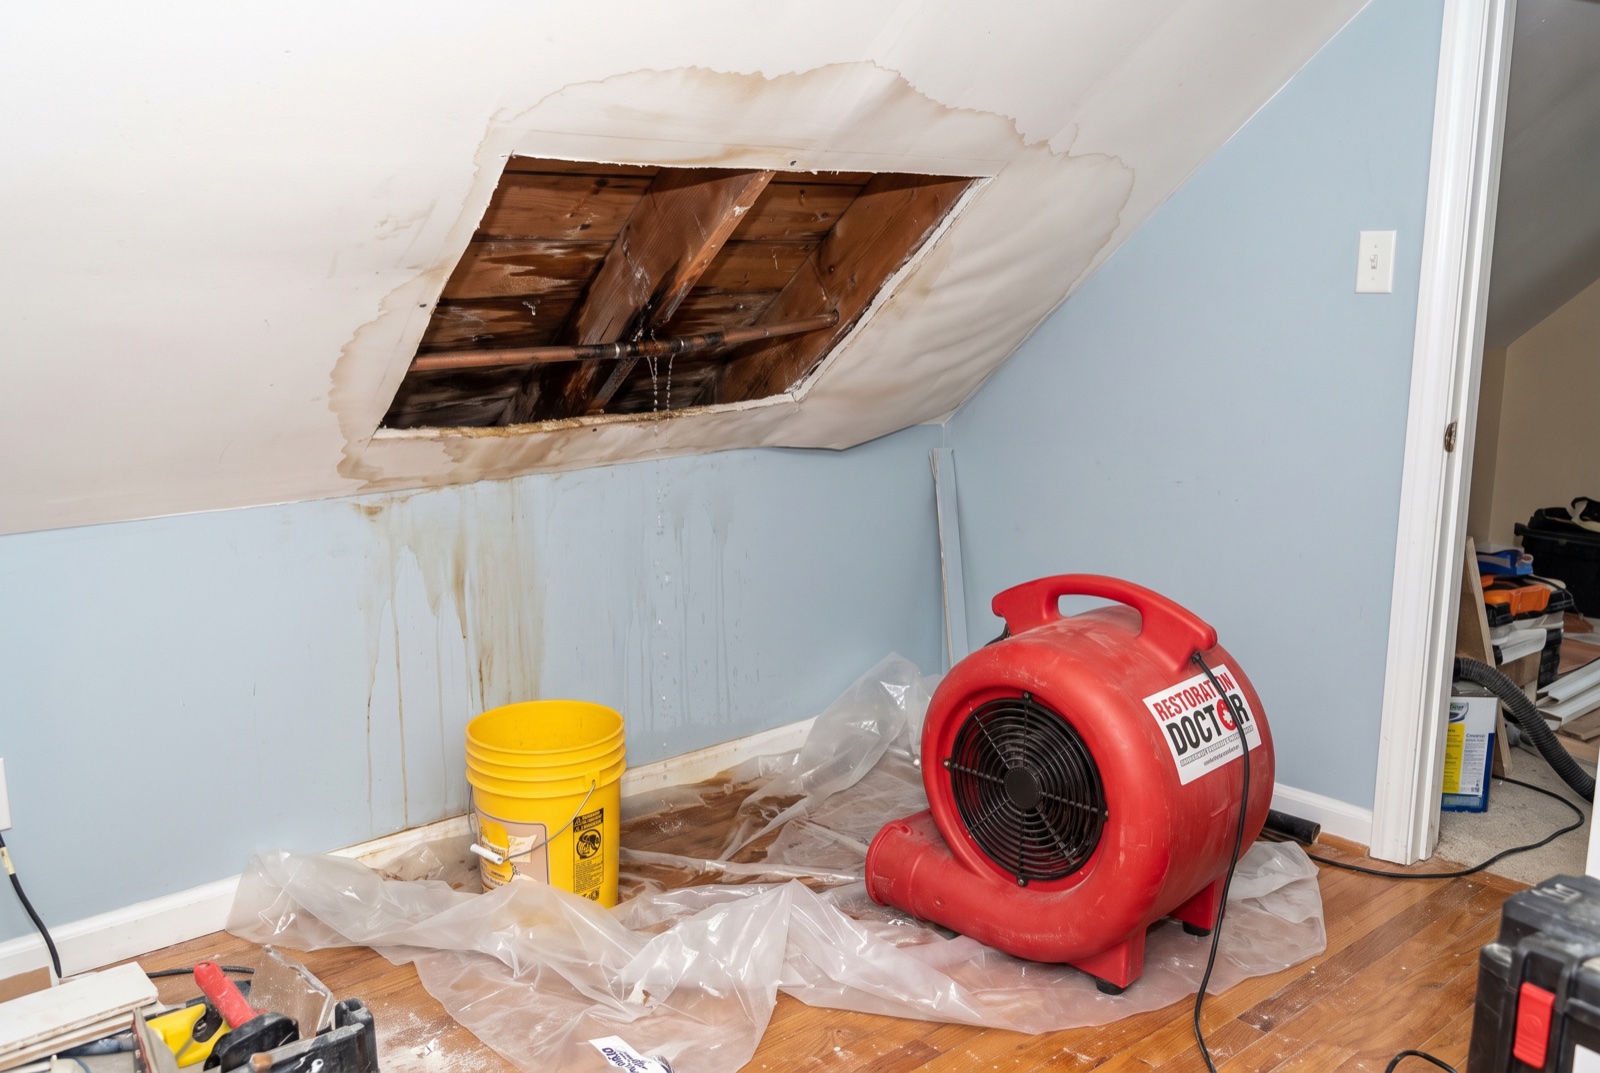
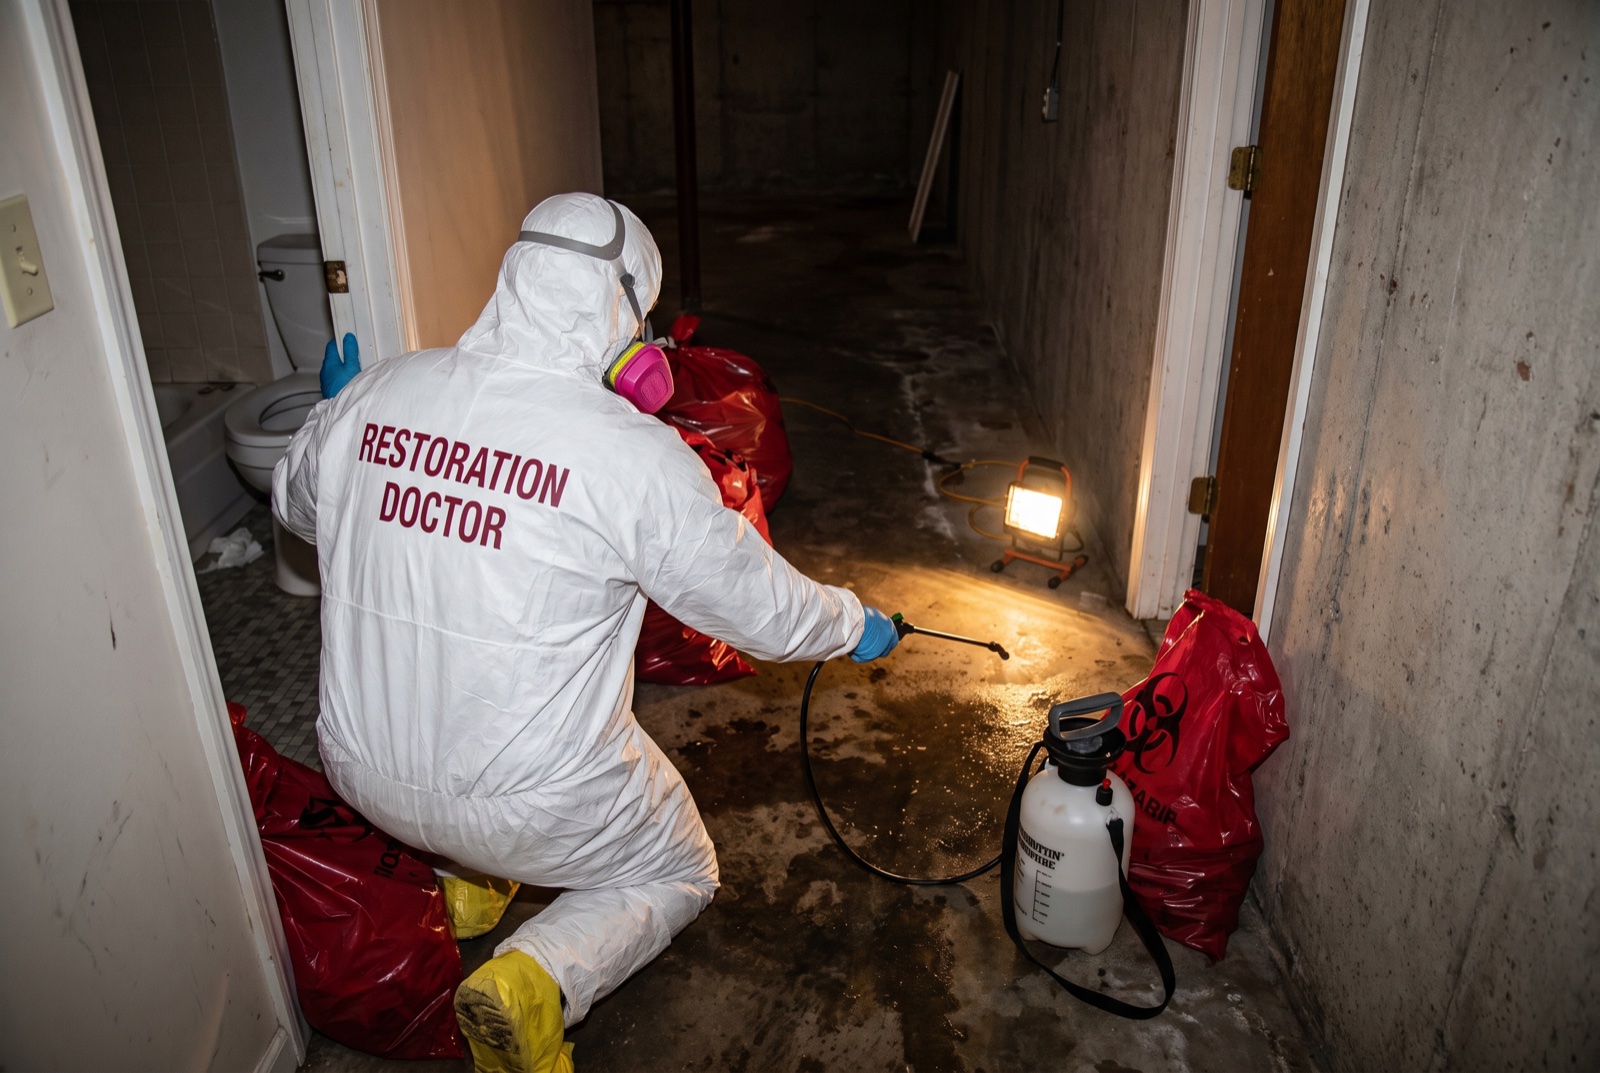
Emergency response to an active ceiling leak in a Fort Lauderdale condo with containment and extraction
Las Olas corridor high-rise condo

AC condensate line backs up in a tower unit

A clogged condensate drain line in an air-handler closet overflows overnight. The water finds the corridor side of the unit, tracks under the entry flooring and into the unit below. Two owners, one association, and a property manager who needs to know within the hour who is doing what.

How the response runs
  1. 01Stop the source, isolate power to affected circuits, and photograph arrival conditions in both units before anything is moved.
  2. 02Identify the point of failure clearly, because in a stacked building the source determines whose responsibility the loss is under the declaration.
  3. 03Map moisture in both units and in the shared cavity between them — corridor and party-wall wicking is the part people miss.
  4. 04Coordinate access, elevator protection, work hours and equipment staging with building management before crews mobilise.
  5. 05Dry both units under one documented plan with daily readings, so neither owner is left arguing from a different set of numbers.
  6. 06Deliver separate, unit-specific documentation packages so each owner can submit to the right policy.

Outcome: Both units are dried and verified, the association has a clean record of the source and the scope, and each owner has their own documentation set for their HO-6 carrier or the master policy — without the two claims contaminating each other.

Technician in full PPE performing Category 3 sewage cleanup in a Fort Lauderdale home
Coral Ridge 1950s slab-on-grade ranch

Cast-iron drain line fails under the slab

The lowest fixtures in a mid-century ranch have been backing up intermittently for months. What finally arrives is not a slow drain but a Category 3 discharge under the slab, surfacing at a cracked tile joint and a damp baseboard on an interior wall. By the time it is visible, the moisture has usually been there long enough for growth to start.

How the response runs
  1. 01Treat it as black water from the first minute: containment, PPE, and no foot traffic tracking contamination through the rest of the house.
  2. 02Bring in a licensed plumber to camera-scope and locate the failure — the pipe repair is their scope, the contamination and drying is ours.
  3. 03Remove contaminated porous materials as regulated waste and handle contaminated soil at the slab break-out properly.
  4. 04Set negative-air HEPA filtration and full containment so the rest of the home stays clean while the slab is open.
  5. 05Apply antimicrobial treatment, then dry the slab, wall bases and cavities under monitored conditions.
  6. 06Verify before reconstruction, and treat any growth found under S520 rather than closing the wall over it.

Outcome: The house is decontaminated, dried and documented, the failed line is properly diagnosed rather than patched blind, and the owner has the record showing a sudden discharge and its scope — which is exactly the distinction that matters most on this kind of loss.

Poly containment under negative air pressure set for mold remediation in a Fort Lauderdale home
Victoria Park bungalow closed for the season

A seasonal home left at 78°F with no dehumidification

A seasonal owner leaves for the summer with the thermostat set high to save on power. The AC barely runs, so it barely dehumidifies. Indoor relative humidity sits well above sixty percent for months. Nothing leaked and nothing flooded — but by autumn there is growth on closet walls, behind furniture on exterior walls, and on leather and fabric contents.

How the response runs
  1. 01Assess before touching anything: humidity and dew point readings, surface moisture, and where the vapour drive is coming from.
  2. 02Set S520 containment with negative air and HEPA filtration around affected areas before any disturbance.
  3. 03Remove colonised porous material, HEPA-vacuum and detail-clean the remaining surfaces rather than fogging over the problem.
  4. 04Address contents separately — cleaning what can be saved and documenting what cannot.
  5. 05Fix the actual cause: dehumidification strategy, AC sizing and run-time behaviour, and any impermeable finish trapping moisture in an exterior masonry wall.
  6. 06Recommend independent post-remediation verification by a third-party indoor environmental professional.

Outcome: The growth is removed under proper controls, the humidity condition that caused it is corrected, and an independent party — not the contractor who did the work — signs off that the space is clear.

Emergency board-up of storm-damaged openings on a Fort Lauderdale home
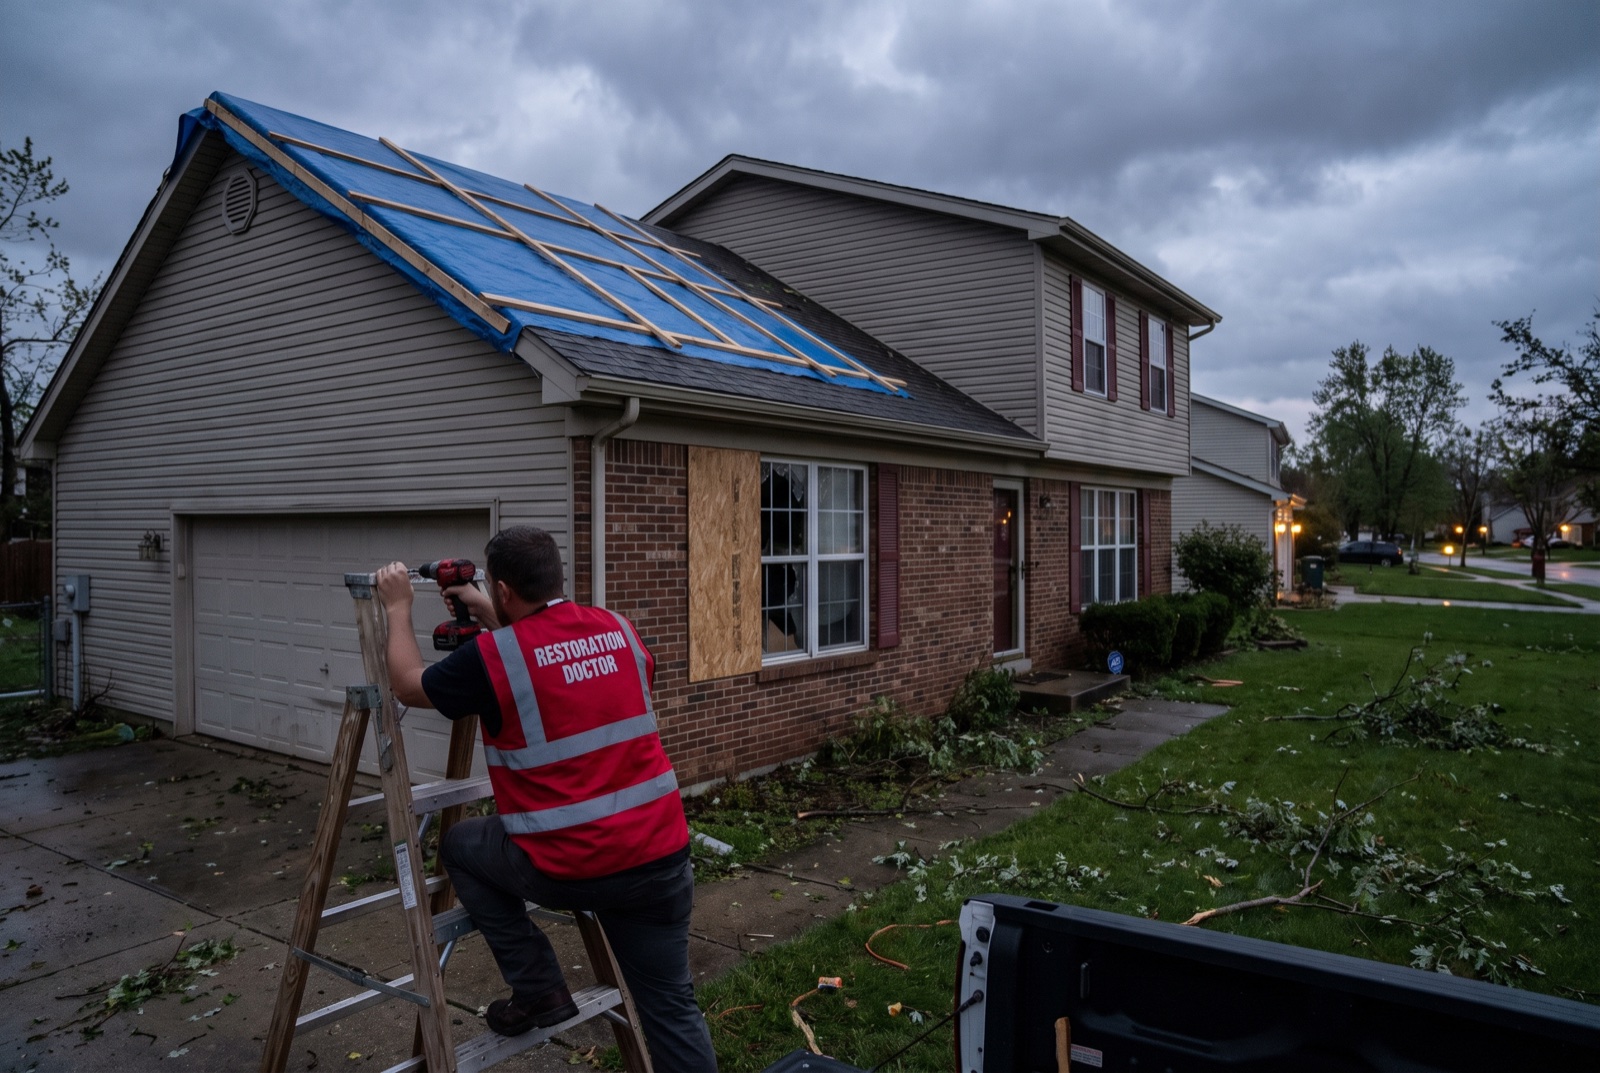
Pompano Beach coastal home after a named storm

Wind-driven rain finds the roof-to-wall joint

The roof holds and the impact glass holds, but wind-driven rain is pushed horizontally into a soffit vent and a roof-to-wall transition. Water tracks down inside the wall assembly and shows up two rooms away as a stain on a ceiling that sits nowhere near the point of entry.

How the response runs
  1. 01Make the building weather-tight first — tarping and board-up so the next band of rain does not undo the drying.
  2. 02Trace the water path with thermal imaging rather than assuming the stain marks the source.
  3. 03Document the intrusion point clearly, because wind-driven rain and flood water are handled very differently on the coverage side.
  4. 04Open only what has to be opened, dry the wall and ceiling cavities under controlled conditions, and monitor daily.
  5. 05Watch insulation and cavity readings specifically — those hold water long after the visible surfaces read dry.
  6. 06Photograph the repair path end to end so the file shows cause, scope and completion.

Outcome: The intrusion point is identified and documented, the assembly is dried before growth starts in eighty-percent ambient humidity, and the owner has a file that clearly distinguishes what happened from what did not.

Hardwood floor drying-mat system extracting moisture from wood flooring in a Fort Lauderdale home
Plantation family home with a supply-line break

Clean-water break caught in the first hours

A braided supply line under a second bathroom sink lets go while the family is out for the afternoon. Several hundred gallons of clean municipal water spread across tile, under a hallway, and into two carpeted bedrooms before anyone is home to shut the valve.

How the response runs
  1. 01Shut off, extract immediately, and get contents up off wet flooring before they wick.
  2. 02Because this is Category 1 clean water caught early, most of the assembly can be dried in place rather than removed.
  3. 03Map the full spread — water travels much further under tile and along the slab than the visible edge suggests.
  4. 04Set an in-place drying system with LGR dehumidification and targeted air movement, including under-floor drying where the assembly allows.
  5. 05Monitor daily and adjust equipment as the readings drop rather than leaving a fixed set for a fixed number of days.
  6. 06Close only when every monitored point holds its documented dry standard.

Outcome: Minimal demolition, flooring and cabinetry preserved, a shorter timeline, and a full documentation package. This is the version of the story where speed genuinely changed the size of the job — which is the entire argument for calling at hour one rather than day three.

DISPATCH / EMERGENCY

Active water, mold, fire, or sewage event?

Connect directly with the Restoration Doctor team for your region. Crews are on standby 24/7 with documented response protocols.

DIRECT DIAL: (786) 213-9489